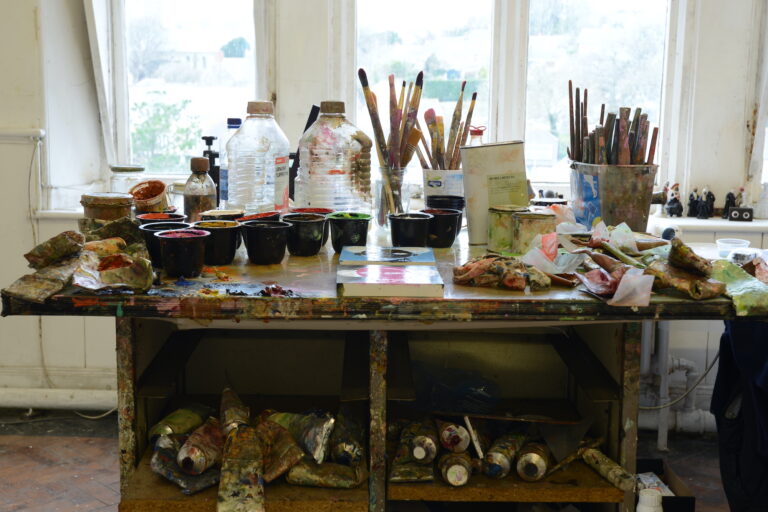
Having a studio is top of the shopping list for any artist, but when space is at a premium and the investment for professional studio is out of the question, creating a home art studio is the way to go.
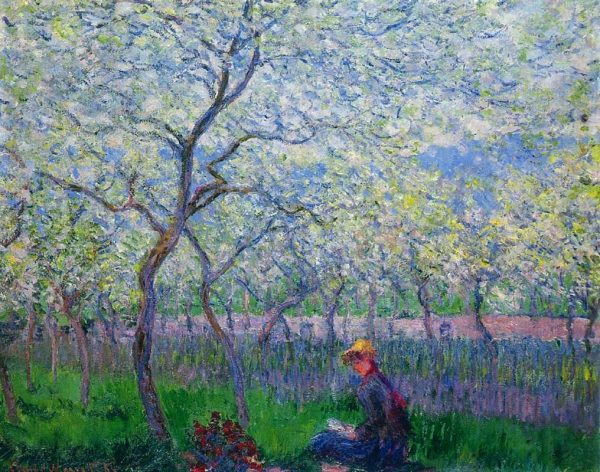
Not every successful artist needs a converted barn in upstate New York. Francis Bacon worked from his London home, sculptor Dame Barbara Hepworth set up a garden studio in her St Ives home, and Impressionist Claude Monet made his Giverny home and garden into his studio and his muse.
When looking for space, a spare room may be the first thing you consider, but it may not be the most ideal location. If you are a painter, you need easy access to a sink and water or you will be dripping or treading paint across a hall floor—no matter how careful you are. If it is an upstairs room, artworks will need to be transported downstairs. Even if dry, the paint will magically transfer itself onto your walls and floors, clothes and hands.

Ingredients for a great home art studio
Good natural light
Find a spot with good natural lighting, like a space near a window or with a skylight. If that’s not doable, you can invest in daylight lightbulbs. These are bulbs that cast a white light rather than the warm creamy glow you get from lamps. There is a whole industry dedicated to lighting studios, but a simple directional desk lamp or pendant with a white daylight halogen or LED bulb should do the trick. Try the Daylight Company.
Good ventilation
Paints are strong smelling, and turpentine or wipes used to clean brushes even more so. Setting up near windows that can open is ideal. Otherwise, invest in an air purifier.
Turpentines and mineral spirits should be stored in an airtight container at all times. Keep turps outside of the house and fill a lidded jar to use in your home art studio. Keep the lid on when not in use.
Heavy-duty floor easel
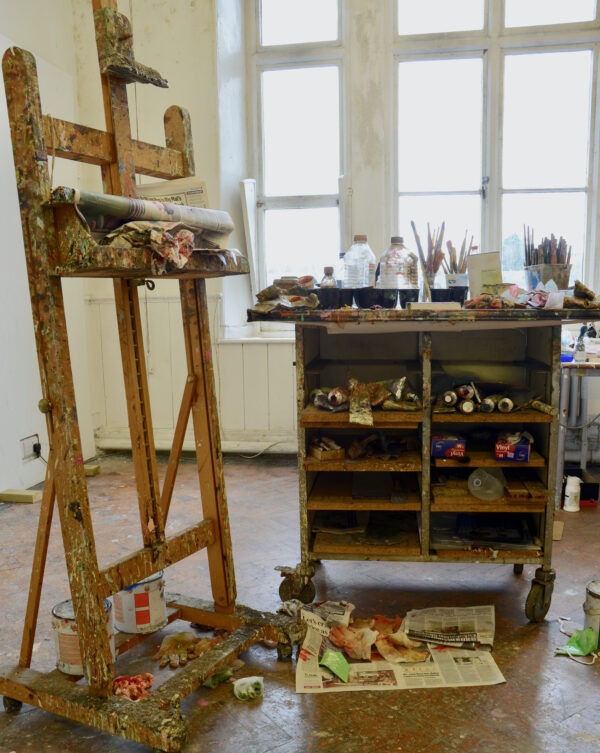
Forget the flimsy fold-down versions (unless you do need to fold down to a small space) and invest in a sturdy professional easel. They will cost more but last forever. And most of them will fold down for storage.
If you are working on a smaller scale, there are plenty of table-top easels that can be far sturdier than the spindly floor easels. If you go for a thinner one, ensure it has metal telescopic legs—these are perfect for working outside.
Towels and old sheets
There’s no such thing as too many painting rags. The bigger and thicker, the better. Don’t buy any new ones, no matter how cheap. Get friends and family to donate any unwanted linen and keep a ready supply wherever you paint. If you sit down to paint, use a towel like a napkin over your legs.
Surgical gloves. Gloves are increasingly popular for artists, especially those working in oil, to protect hands from endless scrubbing with turpentine. Have a box handy and make sure you take them off before moving away from your studio. The gloves can be reused, just leave them out to dry.
Pots and jars
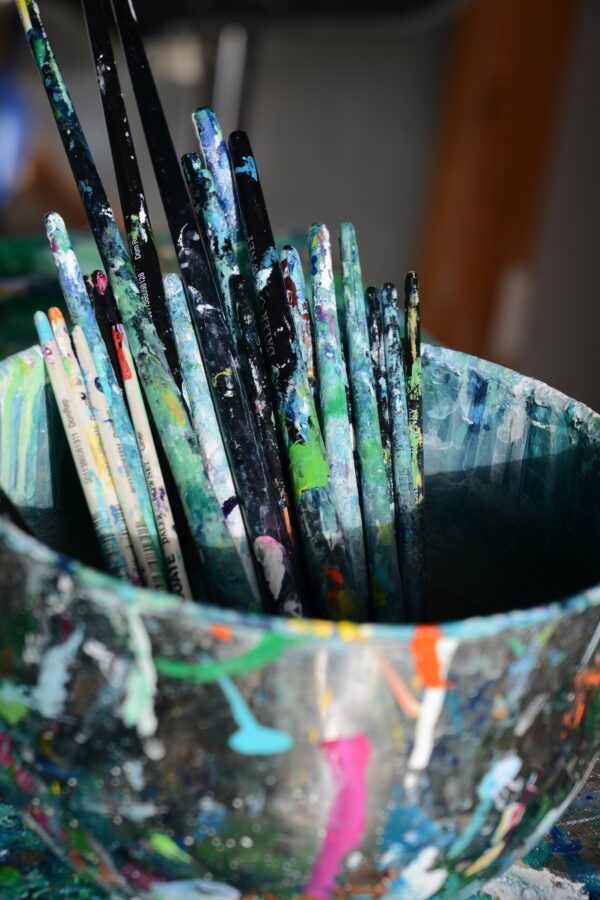
Painting implements should always be stored upright. Brushes face upwards so you can see the size you want and to allow the bristles to air dry.
Plants
Yes, you read that right. There are many plants that help improve air quality. And they are a ready-made still life if you run out of inspiration. The best plants to help purify indoor air include the peace lily, spider plant, Boston fern and aloe vera.
Health and safety
This is a major issue for most artists, especially those working with oil paints, which contain volatile chemicals. The vapors are unhealthy and will waft through a building, and the liquid itself is flammable.
Oil paint requires use of even more toxic turpentines to clean brushes and water down paints. These chemicals are flammable and require professional disposal. Note that you should not pour these chemicals down the sink, which poses a risk of explosion. Consider decorator wipes as a (slightly safer) alternative.
Can your studio space be accessed by pets or children? Consider adding a lock to the door for safety.
A clean space
Lastly, all artists will need a small area that is paint, clay and chemical free. This is where you can look at books, update your social media, keep your laptop and drink coffee.
The art of the part-time art studio
A whole room can be a pipe dream, consider finding a corner of a room, even if it’s just for a day. A dining room table, kitchen island or a bench in the utility room can be all you need. Treat your art supplies like a tool box (you can even keep them in one), and store them safely in a cupboard or high shelf.
Other must-haves are tabletop easels. Buy several—they are great for drying work. Unlike floor easels that cost hundreds of dollars, tabletop easels are widely available from craft shops and cost less than $20. Make sure you get one that folds down flat.
After years of scrubbing accidental oil paint marks from desks, dining tables and kitchen surfaces, I’ve done the groundwork and can confirm that old towels are better than dust sheets. They are thick and relatively disposable and really, really good for cleaning a brush in situ. Store your towels in plastic bags or hang them outside to allow the paint to dry so they can be reused.
Having a part-time art studio may mean working small, but all artists have to comprise. Think of Francis Bacon whose canvases were made to fit in and out of his home-based studio. The abstract expressionists moved into outbuildings in upstate New York to create and store their enormous works. And my garden studio is often supplanted by a tabletop easel on the kitchen island.
Storage
Once you’ve completed the work and it’s dry, you will need to consider storage. A garage or outbuilding will be the obvious choice, but it will need to be a dry, moisture-free space. Consider investing in a dehumidifier or damp traps.
Since paintings can take up more room than the space you need to create them, the most space-saving storage idea is a drying rack. And nothing could be easier or cheaper to make.
Make a floor-based drying rack
A drying rack allows you to store larger wet paintings (usually) upright so they don’t touch each other. You can also use a drying rack to store finished artworks (ideally protected by bubble wrap or packaging paper).
For a wooden drying rack, you don’t need a carpenter, you can fashion a wooden drying rack cheaply in a few different ways.
If you create large canvases, you should create a frame.
What you need
- 1” x 2” lengths of wood (the amount depends on the size of the rack)
- Wood glue
- Screws
- Drill
- Saw
- Triangle (set square)
Decide how many spaces you need for your rack. The rack doesn’t have to cover the whole canvas, it should reach at least a third of its height, but ideally half.
A drying canvas will need to have room to lean away from the wooden frame to avoid marks by at least 30 degrees. It should be about 8” to 10” wide.
Once the work has thoroughly dried, canvases can be grouped together and slotted into the spaces.
Frames should be made using wood glue and screws for maximum strength. Depending on where you are using it, you can screw the frame into the floor or walls for added strength. Slotting it into an existing crevice can also improve its strength.
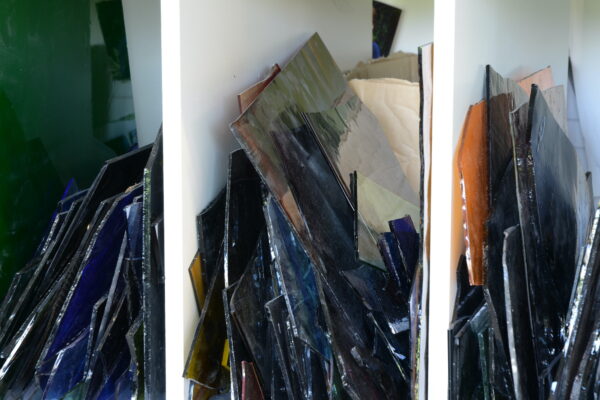
Ready-made drying racks
Other options include wooden crates: turn them sideways and slot them into an annex. You will need to remove some of the slats to create the right-sized space for your work.
Old open shelving units can be turned onto their back.
Another DIY option is a cheap magazine rack (my personal favorite for painting on board). Surprisingly strong, they can hold quite a number of paintings while they dry. And when not in use take up very little space. Use on a table for small works or on the floor for larger works on board.
Are you a printmaker? See these basics for setting up your own printmaking studio. Or if a home art studio is not for you, check out our guide on how to find the perfect art studio.

