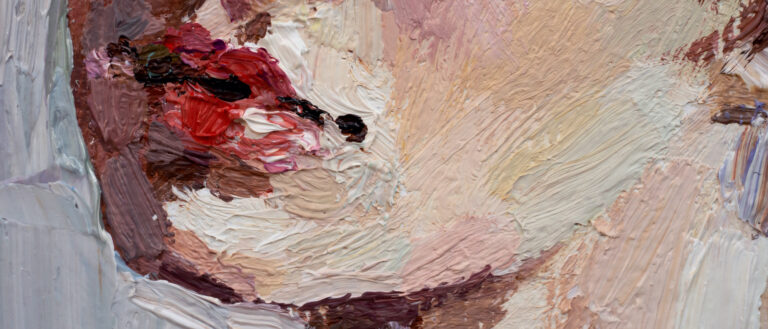
Oil paint is a revered medium among many artists. We explore how its made, its place in history, and popular techniques.
What is oil paint?
All paint is designed to do the same thing: get pigment (color) to stick to a surface (canvas, board, paper, plaster). For centuries, these pigments were mixed into oils. The most common oil is linseed oil giving oil painting its unique color, texture and tone. Other oils include poppy, sunflower, safflower, soya bean and walnut oils.
Over centuries, the oil paint formula has been tweaked and perfected with cleaner oils and synthetic pigments to prevent the dulling of colors.
History has shown us that oil painting is good for a few centuries or more. There are plenty of examples of great works — far too many to name — from the last 500 years showing how painting masters have used oil paint to create priceless work. There have been hundreds of books written on art movements, artists, and even single paintings, which lavish praise on how oil painting techniques have developed.
When was oil paint first used?
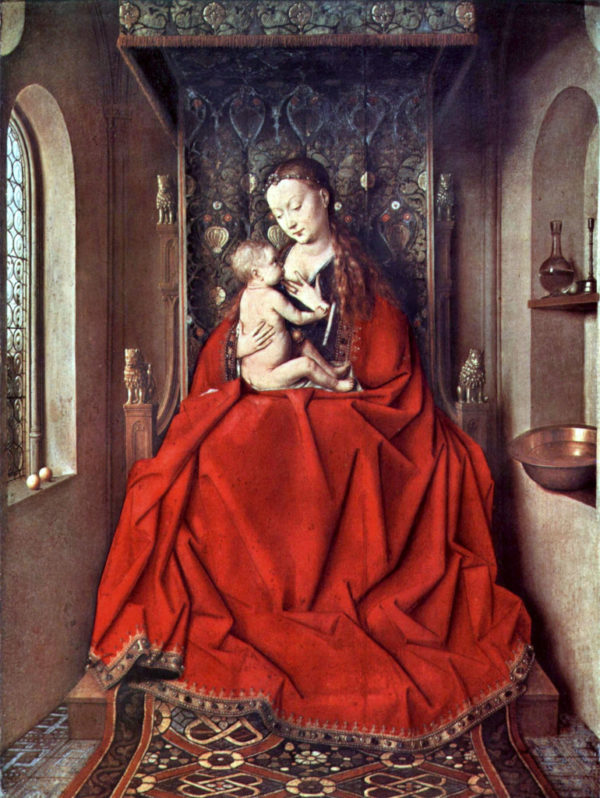
Oil paintings dating back to the 7th century have been found, but the 15th century is widely recognized as the true birth of oil painting.
If the 15th century is its birth, Flemish painter Jan van Eyck is the father of oil painting. He created an oil paint formula that quickly replaced egg tempera (pigment mixed with egg yolk). The benefit of using oil paint is that it slowed down the painting process. While egg tempera dried quickly and gave paintings a very specific sheen, oil paint allowed artists to create work over several sittings. And artists found it easy to work over to create depth and make corrections.
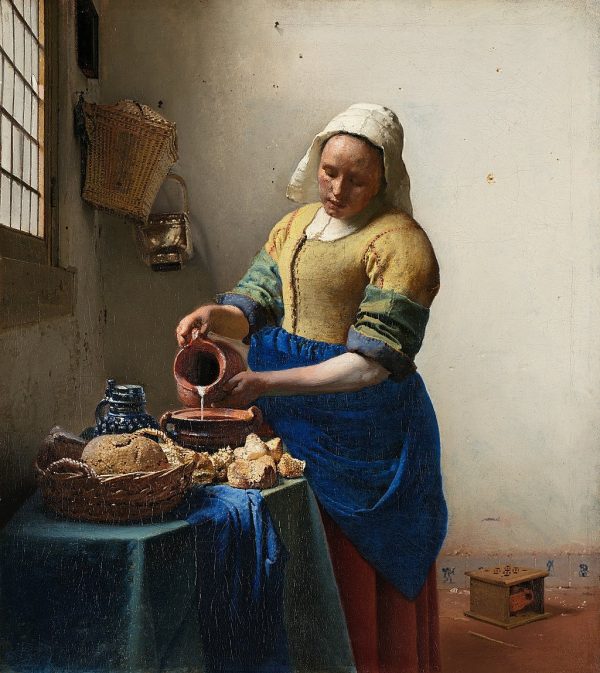
Oil paint was most commonly used on wooden boards or panels in its early days. In the 17th century, Dutch painter Johannes Vermeer began to use canvas stretched across a wooden frame, known as stretchers or strainers. These canvas stretchers are the most common surfaces artists now use. Read more in our blog Best Surfaces for Oil Paintings.
What are the challenges of using oil paint?
For many, the challenges of oil paint include its smell, slow drying time, dangerous solvents (white spirit and turpentine), and difficulty in cleaning brushes — all of which are enough to put people off. But there are plenty of unique elements that make it worthwhile.
Oil painting techniques
With more than 500 years of history in the art world, oil painters have had plenty of time to develop different methods of working with oil paint. Many originate from Italy thanks to the Renaissance painters, like Leonardo da Vinci who championed them. Below are few you can try.
Wet on wet
Also known as alla prima, wet on wet is the technique of applying a new layer of oil paint on top of a still-wet layer. It allows blending, and some mixing of color directly on the surface. Artists apply this technique to create a painting over several sittings, rather than leaving it to dry.
Impasto
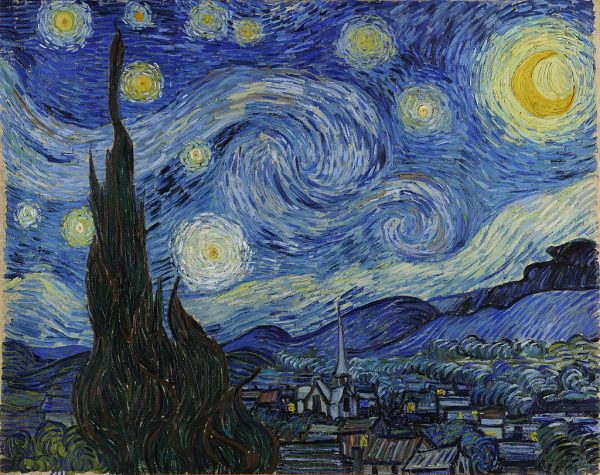
Another Italian term from those clever Renaissance painters, impasto means creating a thick layer of paint. Using a palette or painting knife (more on this below), the artist smears the paint across the surface. The painting knife is used to dig into the surface to create texture and movement (get up close to oil paintings to see how it has been done). Vincent van Gogh was a master of using impasto to create texture through his signature nicks in the paint to suggest movement.
Sgraffito
The Italians used the term sgraffito to mean scratching into plaster and paint to create texture and relief — and more importantly to show the color beneath the top layer. Sgraffito can be a series of thin lines to create an image or depth.
Dry brush/scumble
Gently dragging a dry brush with a tiny amount of drying paint across a (ideally) dry painting, in a different color, creates a broken surface. This is scumbling. You can use a brush or a knife. The key is the consistency of the paint you are applying and how much you apply.
Francis Bacon used white or yellow paints over the top of many of his works to create the effect, a notable example being Study after Velázquez’s Portrait of Pope Innocent X.
Palette knife vs. brushes
Oil paints are incredibly diverse, and so are the methods of applying them. As a painter, you can choose from dozens of types of brushes and painting knives to create different effects.
Brushes
There are dozens of different types of shapes and sizes of brushes for paint, but many were designed for oil paint. The main six shapes have different purposes: flat, round, brights, filberts, fan blenders and riggers. Flat and round brushes are the workhorses of your paintbrush collection, while brights (short flat brushes) are used for detail, Filbert brushes (flat rounded bristles) are used to soften and blur edges. Fan brushes create soft flat backgrounds and riggers are thin bristles for lines.
The different types of brushes are usually made from different materials. Traditionally, the bristles can come from animals, including hogs, squirrels and goats. There’s a growing collection of synthetic vegan brushes with bristles made from nylon that create the same effect.
Learn more on how to choose the right brush for your medium and painting style.
Palette knives
When we talk about palette knives, what we really mean is painting knives (the palette knife is a flat round tool used to mix paint). Traditionally these knives have a specific mini trowel-like shape in a range of sizes, but painting knives have developed to include tools closer to household wallpaper scrapers and putty knives, perfect for creating impasto.
Learn more about painting knives and how to use them.
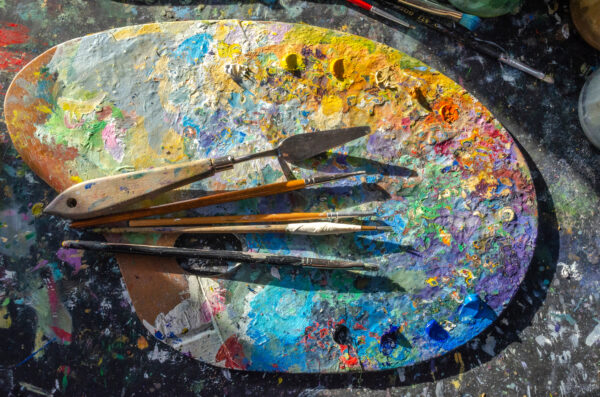
Painter’s palette
Art supply shops will offer a range of palettes, mostly in the classic oval with thumbhole design.
Traditionally made of a thin wood board (but increasingly available in plastics), the painter’s palette is designed to be held in the artist’s hand and rest on the artist’s arm. Traditionally the wooden variety allows paint to build up on the surface to create a patina of colors, while the plastic version can be cleaned. (Scrape off excess paint and scrub with a cloth soaked in white spirit or turpentine).
Tips and tricks
1. Make your own painter’s palette
After almost 20 years as a painter, I admit, I have never owned a proper painter’s palette. Instead, I use thick cardboard (ideally corrugated, so it will take the weight of oil paint). The benefits of this mean having a fresh painter’s palette as often as you like. The cardboard absorbs excels oils in the paint to create a thicker texture which can be ideal for impasto.
2. Covering your painter’s palette
Oil paint is expensive and it can be hard to know how much paint you need to squeeze onto your palette. Extend the life of your paint, with a simple trick: keep a tube of plastic wrap in your studio and place a sheet gently over the palette board when not in use. However, don’t wrap the film tightly as you will squash the paint and lose some. You can keep doing this each time you use the palette. Paints should stay wet for at least a week.
How does oil paint compare to other paints?
Check out our series on different paints and painting mediums to decide which is the right paint for you:

