Is screen printing one of the most traditional of fine art processes, or instead a relatively recent development in printing? From a certain perspective, one could say it to be both; after all, stencilled handprints were among the very first known prints. Screen printing only began to be used for fine art printing on paper, however, from the 1930s.
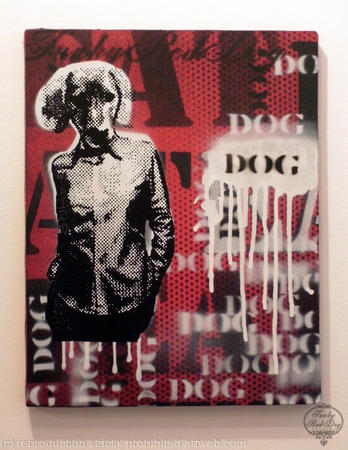
The key development in that regard was artist Anthony Velonis adapting the commercial screen-printing process for the Works Progress Administration (WPA), which was the largest of the Great Depression-era New Deal programs in the United States.
The screen-printing workshop that Velonis established with support from the WPA helped to usher in the era of screen printing as a widely accepted fine-art process. Its respectability enhanced further still by the 1960s Pop Art movement, screen printing has been utilised down the generations by such legendary creatives as Andy Warhol, Robert Rauschenberg, Eduardo Paolozzi, Joe Tilson and Richard Hamilton.
But if you are looking to get into screen printing in the 2020s, what are the basic tools and materials that you should be sourcing first?
Your screen printing essential checklist
Unlike some other printing processes, screen printing doesn’t necessitate the use of highly specialised materials that can only be used in a similarly specialised environment. Quite the contrary – what you’ll need is relatively simple, and can be set up nearly anywhere.
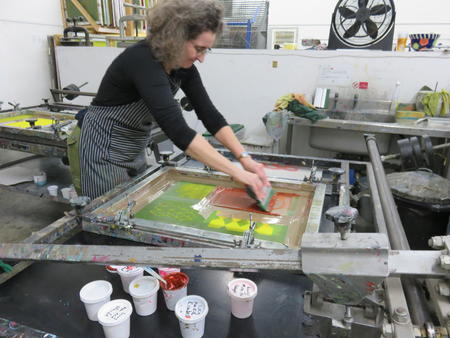
Those staple items include:
- A screen
- A squeegee
- A printing table with hinges
- Stencil material
- Registration plastic
- Water-based screen-printing inks
- Paper
- Somewhere with a strong hose for screen cleaning
Naturally, there are certain key considerations around the aforementioned items. The screens for screen printing, for instance, are available with wooden or aluminium frames. It isn’t too difficult to make a basic wooden screen yourself, but if you desire the tautest screen tension and the greatest durability, a professionally made aluminium screen is likely to make a lot of sense.
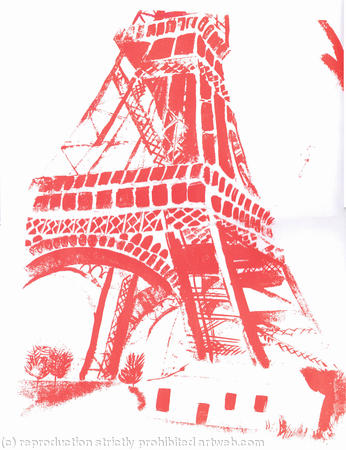
The frame isn’t the most important aspect of a screen, though. That role is instead reserved for the mesh, with your choice of mesh inevitably dependent on such interdependent variables as the ink particle size and the type of stencil used.
As a broad rule of thumb, the most professional-quality inks are associated with the finest particle sizes, and are therefore a good match to the finest mesh. That, in turn, allows for the most detailed screen prints to be produced.
At the other end of the scale, meanwhile, are the more open meshes that enable a thicker deposit of ink, making them ideal for the printing of bolder images or large-particle (metallic) inks, not to mention printing on fabrics or other comparatively rough surfaces.
You’ll need to think carefully about your squeegee, too
The crucial companion tool to the screen-print frame is the squeegee, which serves the role of pulling the ink across the screen and through the stencil openings onto the paper.
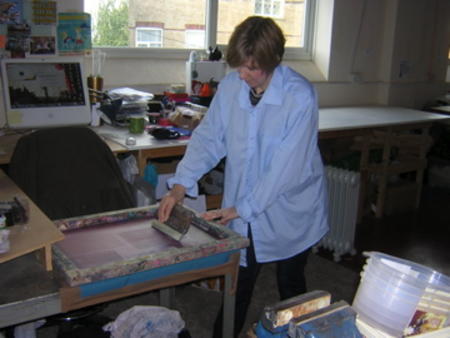
It is the durometer of a squeegee that describes how hard the blade is, and therefore how flexible the squeegee is. In the case of most smooth paper, for instance, a mid-range squeegee durometer of about 70–80 is ideal; a lower durometer, such as 50-60, describes a softer blade, which will lay down much more ink, as will be helpful when printing on a rougher surface like fabric.
That leaves the harder squeegees – those of 90 or more durometer – which lend themselves best to the printing of halftones and fine detail work. But consider the relationship between the screen mesh and the squeegee blade when making your selections, too. As a general rule, coarser mesh is best used with lower durometer squeegees.
Finally, the shape of your chosen squeegee blade will also matter, depending on the intended application. If you simply wish to screen print on paper, for instance, there’s a good chance that you’ll be using the common square-edge squeegee.
In cases where you’ll need to lay down an especially thick layer of ink, however, such as when certain types of fabric are being printed on, you might instead turn to a round-edge or bull-nose blade. Then, there is the single-bevelled profile, which tends to be counted on for printing on glass.
Screen printing can be an entire world of discovery
So, presuming you’re now suitably armed with the tools and materials that will enable you to transition into screen printing in earnest, you’ll be well-placed to follow our subsequent blog posts on such aspects of this fine-art process as the planning of an image and basic stencils.
In the meantime, what have your own experiences been with obtaining these screen printing essentials, and is there are any particular advice you would give? Don’t be afraid to share your thoughts in the comments section below.


