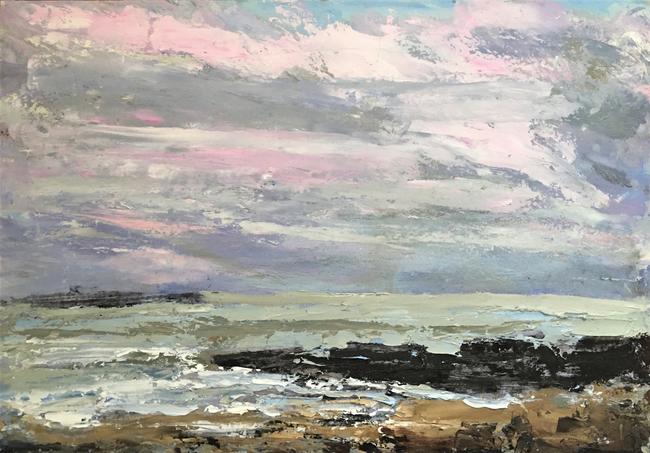
Whilst canvas and board are the most common choices for painting with oils, there are many benefits to introducing card and paper to your substrate selection. Though the pairing of oil and paper is not generally considered a compatible one, when primed properly, it can be a great choice for artists on a budget. Being relatively cost effective in comparison with canvas and linens, they make excellent alternatives for preparatory works or practise attempts, allowing you to save your expensive canvas for more developed ideas. Additionally, painting straight onto paper or card allows for multiple framing options, such as box mounting, allowing you a more modern finish. Without careful preparation, however, the solvents from oil can cause the paper to deteriorate, and the paint to crack. But with this simple guide, we’ll demonstrate how to prime these simple materials like a pro, allowing you the freedom to experiment without a hefty price tag attached.
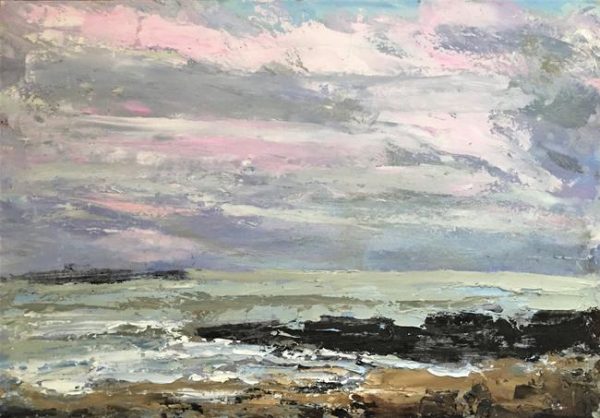
What you’ll need to prime paper for oil painting
- Paper or card
- Board or panel
- Masking tape
- Acrylic gesso
- 2–3 inch brushes (smooth or textured)
- Steel ruler
- Sharp mat knife
- Acrylic paint (optional)
- Oil primer (optional)
Step 1: Choose your paper
The first step is to make sure your paper is acid-free and of a good quality. A heavyweight watercolour paper is ideal for painting with oils given it’s rough texture. Printmaking paper may also be used for painting with oils, when primed correctly with an acrylic gesso. Priming paper in this way protects the fibres from oil absorption, which can cause the paper to darken, become brittle, and eventually deteriorate. Alternatively, specially produced oil paper that requires no preparation before use can be found in most craft stores, though it comes at a price. Preparing your own paper or card at home can save you money in the long run.
Step 2: Apply gesso
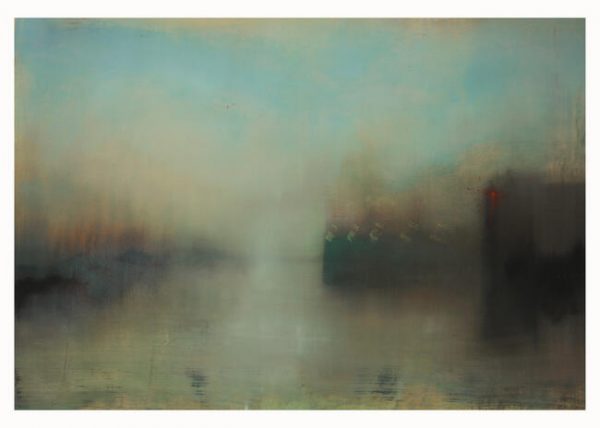
Using masking tape, fix your desired paper or card to a sturdy board or panel, ensuring your paper is flat and the tape is firmly in place. Mix the acrylic gesso with water until the consistency is that of thick cream; this will act as a sealant, preventing the paper from absorbing any oil.
Next, apply a generous coating, working the brush in one direction to make sure the gesso gets down into the fibres of the paper, before leaving it to dry. You may want to weigh down the edges whilst it dries to prevent the paper from curling. What type of brush you use depends on the effect you’d like to achieve, though it should be around 2 to 3 inches wide. By using a soft brush, you’ll attain an even finish, but if you’d prefer a more textured surface, a bristle brush is your best bet. The added texture can look particularly effective when painting landscapes, or to give your portraits some added character.
Once the first coat has dried, apply a second, brushing in a perpendicular direction to the first. A third coat may be applied if necessary, and lightly sanded down once dried to achieve smoothness. Alternatively, add sand or sawdust to the gesso mix to create a more textured effect.
Step 3: Apply an oil-based primer (optional)
If you plan on using your primed paper for small thumbnail sketches, preliminary studies or practise attempts, applying an oil-based primer on top of the dried acrylic gesso isn’t totally necessary. However, it is recommended for more serious works. Less porous than gesso, it offers a non-absorbent surface to paint on, which is great for transparent oil effects. Simply apply one coat, just as you applied the gesso, and leave to dry until hardened.
Step 4: Toning (optional)
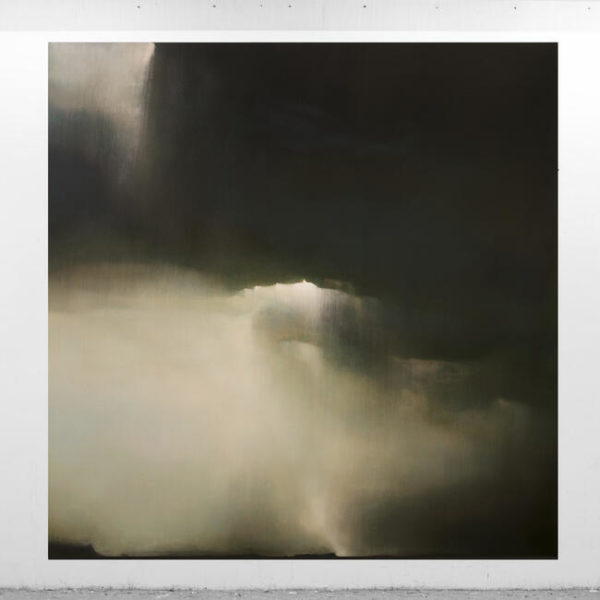
Once your paper is primed, you have the option of pre-toning the paper or card with acrylic paint. Having a ground colour in place establishes an initial mid-tone, helping to unify the overall composition of the piece. Psychologically, too, it can be less intimidating to lay a ground colour down before painting, rather than confronting a blank white page. Burnt sienna and yellow ochre are popular choices for beginners and well-seasoned painters alike, due to their versatility. Though, there are many ways to approach this. Some artists select harmonious colours, whilst others tone with a complimentary palette to their subject for contrast. A red ground colour can enrich the blues of a seascape, for example. Figurative painters may opt for a gray or green base, whilst landscape painters often prefer warmer tones. It’s worth experimenting to find what works best for you and your particular style.
Step 5: Paint
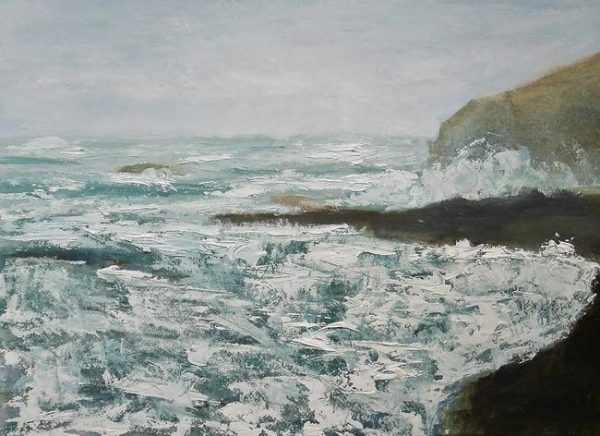
Now, you’re ready to paint just like you would on canvas or linen. For compositional drafts and studies, it’s best to leave the paper mounted for painting. However, if you plan on mounting the finished piece onto a box frame, it can be better to do this first, allowing you to trim the extra paper to the frame’s edge. Do this using a steel ruler and a sharp mat knife.

