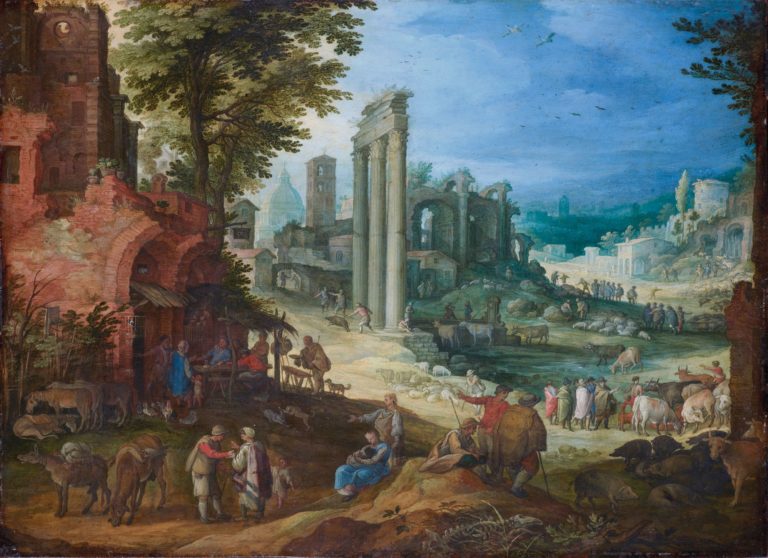
When we think of Old Master paintings, we often picture weighty altarpieces on buckling wooden panels. However, while many of the monumental works created for public audiences were executed on canvas, panel, or fresco, a surprising number of European artists in the 16th and 17th centuries created small-scale paintings on copper, a medium that particularly appealed to collectors, and has been rediscovered by artists working today.

Why paint on copper?
Unlike canvas, the smooth, rigid surface of copper lends itself particularly well to finely detailed brushwork. Copper also provides a non-absorbent surface, meaning that colours do not ‘sink in’ to their ground, and even thinly applied layers of oil paint appear more vibrant and intense. In the 16th and 17th centuries, many artists painting on copper applied a coating of tin or lead to the copper surface before painting, which imbued their works with great luminosity. Copper is also more stable and durable than wood or canvas, and paintings on copper are usually far better preserved than those on other substrates.
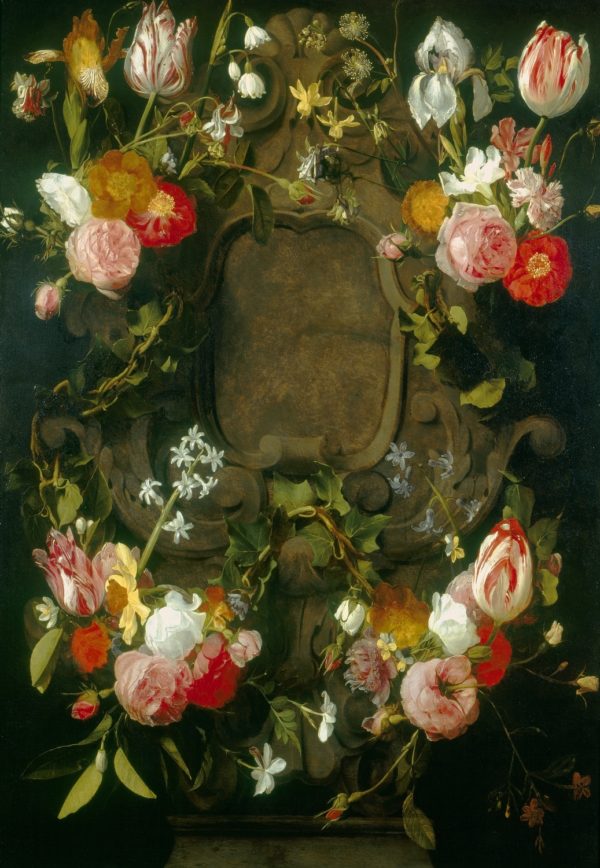
Copper in art history
The use of copper as a painting surface seems to have first flourished in Florence, in the third quarter of the 16th century, and in Rome, where in the 1590s it was embraced by the Flemish painter Paul Bril (1554–1626). Bril’s studio was a popular destination for visiting Dutch and Flemish artists, who carried the practice of painting on copper to their home cities of Utrecht and Antwerp.
Among Bril’s circle in Rome was the artist Adam Elsheimer (1578–1610), whose small-scale paintings on copper have been greatly admired by art historians. After his death at the age of 32, Elsheimer left behind a relatively small corpus of works, yet his innovative approach to landscape painting and masterful depiction of light proved influential on artists such as Rembrandt and Rubens.
Despite the many qualities that painting on copper offered to artists, its popularity waned in Italy and the Netherlands after around 1650, though it continued to be used by painters in France and Spain in the following century. Paintings on copper also enjoyed continuing popularity in Latin America, where hundreds of paintings were imported from Europe, and strongly influenced the development of Spanish American art.
While painting on copper has never been as widely adopted as it was in the 17th century, a number of artists are returning to the medium today, such as British painter John Worthington, who is drawn to the technical and aesthetic potential of the medium.
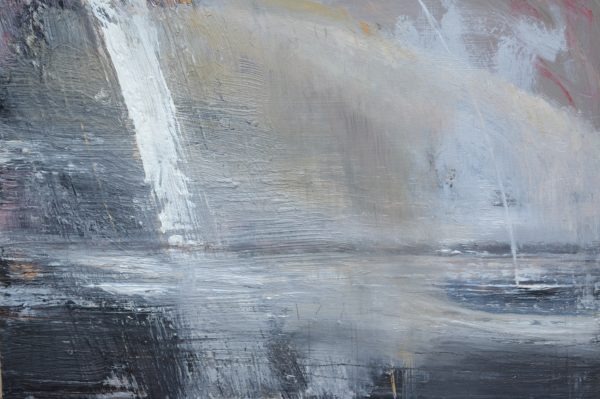
‘I’ve always enjoyed the contrast of finely worked areas of paint against areas of looser, almost abstract marks, and I find that painting on copper is a useful way of achieving this,’ Worthington explains. ‘The joy, for me, is in working with a surface on which I can move the paint around freely and use the inherent “slippiness” of the sheet to make the most of the marks that can be produced, whilst also being able to use the smoothness of the surface to build up detail. If the paint layers are thin enough, then the warm tones of the copper can come through the painting to provide a gentle glow to the finished piece.’
What do you need to paint on copper?
If you’re keen to experiment with painting on copper, you can easily buy copper etching plates from your art supplier.
When handling copper plates, you should always wear gloves, to prevent oils transferring from your hands to its surface, as they will impede paint from adhering to it.
You can use etching plates of any thickness, but it’s advisable to attach a wooden substrate to your panel using archival glue. This will not only protect it from physical damage, and thinner plates from buckling, but will also prevent the reverse of the plate from oxidising, which any copper left exposed over time will do. Roughly sanding the reverse of your copper panel before gluing it to the wooden substrate will provide greater adhesion between the two. (You may wish to wear a particle dust mask as you do so.)
To ensure that paint adheres to your copper plate you will also need to gently abrade its surface using sandpaper. The finer the sandpaper you use, the less texture your surface will have, but avoid using too coarse a grain, which will leave sanding marks behind.
After sanding, clean the surface of the copper using methylated spirits and a clean cotton rag, ensuring that you do so in a well-ventilated space wearing nitrile gloves to protect your hands!
At this stage you can now proceed to paint directly on the copper, or alternatively you can apply primer to the sanded surface of your plate before painting. Traditionally, artists would treat the copper surface with garlic juice, followed by a lead white primer. This method is still used by some artists today, as the acid in the garlic juice forms a strong chemical bond with any metallic elements in the primer or oil paints applied to the copper surface, ensuring the painting’s longevity.
Many contemporary artists allow areas of the metal to show through the paint surface, but be sure to varnish any exposed area of the copper to prevent it from oxidising.

An alternative to copper
A slightly cheaper alternative to copper, which shares its benefits of smoothness and strength, is aluminium, which can also be easily purchased from most art shops and is prepared for painting in the same way as copper.

