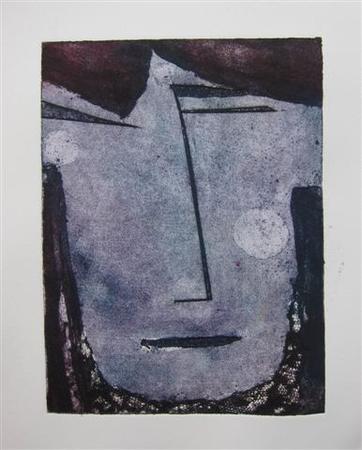
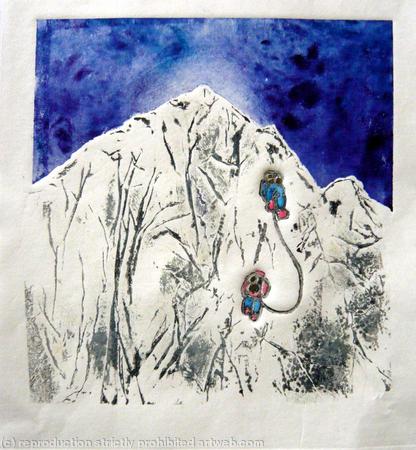
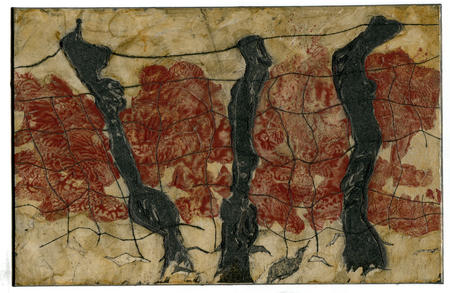
If you’re accustomed to the idea that printmaking always involves the incision or engraving into metal that is then printed, you might want to know about a little thing called the collagraph—or collograph, as it is spelt in some circles.
Either way, it’s a term that amalgamates the two words collage and graphic, which gives a clue as to what this often-overlooked printmaking process is about—not just the construction of an image from various found elements, but also the subsequent use of this image for printing.
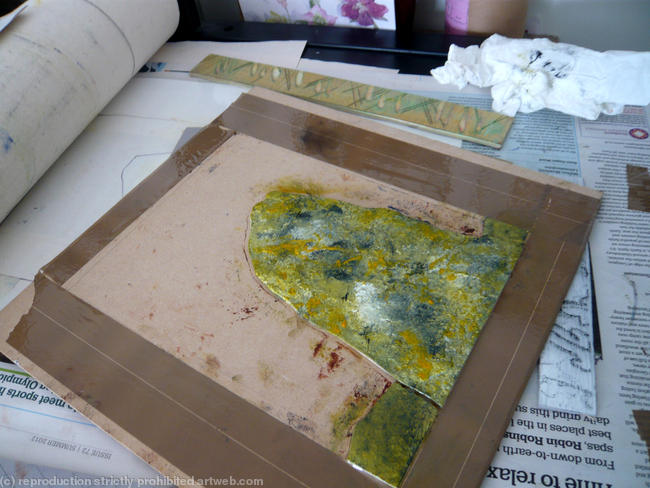
Sure enough, collagraph plates are created much like collages are, with paper and other textual elements typically being cut and pasted onto a stiff cardboard support. This is then printed using intaglio and/or relief methods.
What materials to use for creating a collagraph plate?
The collagraph plate really is one of those things where (almost) anything goes in its construction—well, as long as it can be physically printed.
Admittedly, it’s not quite a case of just reaching for any old materials—there are still certain principles that apply. The base plate material is the one that you will need to think about first, with durability and stability among the greatest priorities—your chosen material should be able to go through the printing press without being distorted.
The texture of the surface is another vital consideration, as when you are printing intaglio, a smooth surface won’t hold ink, whereas a textured surface will. If you intend to work with multiple plates, you should also try to keep the plates at approximately the same thickness to minimise the need to continually adjust the pressure on the press.
Different materials naturally have different strengths and weaknesses when used for a base plate. While mat board or chipboard, for instance, can be easily worked with knives and other tools, it can warp with water-based materials. By comparison, hardboard or medium-density fibreboard (MDF) is difficult to beat for durability, but isn’t exactly easy to work reductively.
The materials and media that you use for the collage itself, meanwhile, could be pretty much anything ranging from papers, thin boards and tapes to wet media such as white glue, acrylic media and latex paint.
Time to get dirty creating that plate…
The process of creating a collagraph plate is so interesting in part because of the seemingly infinite variety of ways in which such plates can hold ink, depending on how they are constructed.
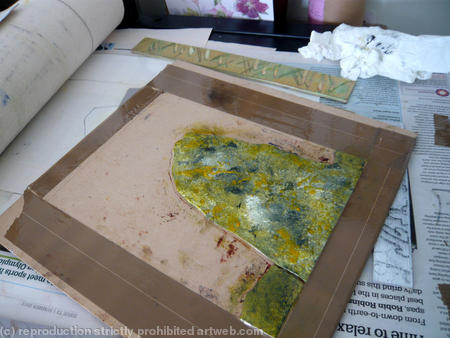
If we were going to get into proper ‘intermediate’ territory here, we could focus more on the differences between intaglio and relief printing. If you are a newcomer to collagraph printing, however, you shouldn’t worry too much about this, not least as most plates can be printed in both intaglio and relief ways regardless, with fascinatingly different outcomes.
So in the meantime, we’d suggest that you concentrate more on the basics of gluing materials to or otherwise manipulating the support board—for example, cutting it into certain shapes—to produce an interesting plate.
When you’re creating a collagraph plate with several layers, for example, we would urge you to allow each layer to dry before you apply another one. When you finish the collage, you must allow it to dry completely—ideally overnight—before applying any ink to it for printing.
Finally, you will be able to get on with printing!
If you’re already well versed in traditional intaglio or relief printing, collagraph printing works essentially the same way, except that you will have to take a bit more time to set up the press in recognition of the inevitability that individual plates will vary in height.
This means you will need to set the pressure of the press for each plate, before inking. When the time comes to ink up the plate, you may opt to ‘condition’ the plate by spraying a light coat of anti-skin spray over it, gently rubbing it in with a rag. This will moderate any residential tackiness if you have sealed the plate with shellac, helping to prevent the paper from sticking in an early print.
Clean any excess oil-based ink from your plates with vegetable oil or mineral spirits if necessary, rather than alcohol or acetone, given how the latter can dissolve any shellac or acrylic polyurethane sealants.
Now, it’s your turn to try it
We could go into much greater detail on the subject of the collagraph process, but we suggest that to do so, you pick up one of the many excellent specialised books on the market, such as Collagraph, a Journey Through Texture by Kim Major-George or Collagraphs and Mixed-Media Printmaking by Brenda Hartill and Richard Clarke.
What are your own opinions or experiences of the collagraph printing process? Do you have any questions or tips to share with our readers? Feel free to contribute your thoughts below.

