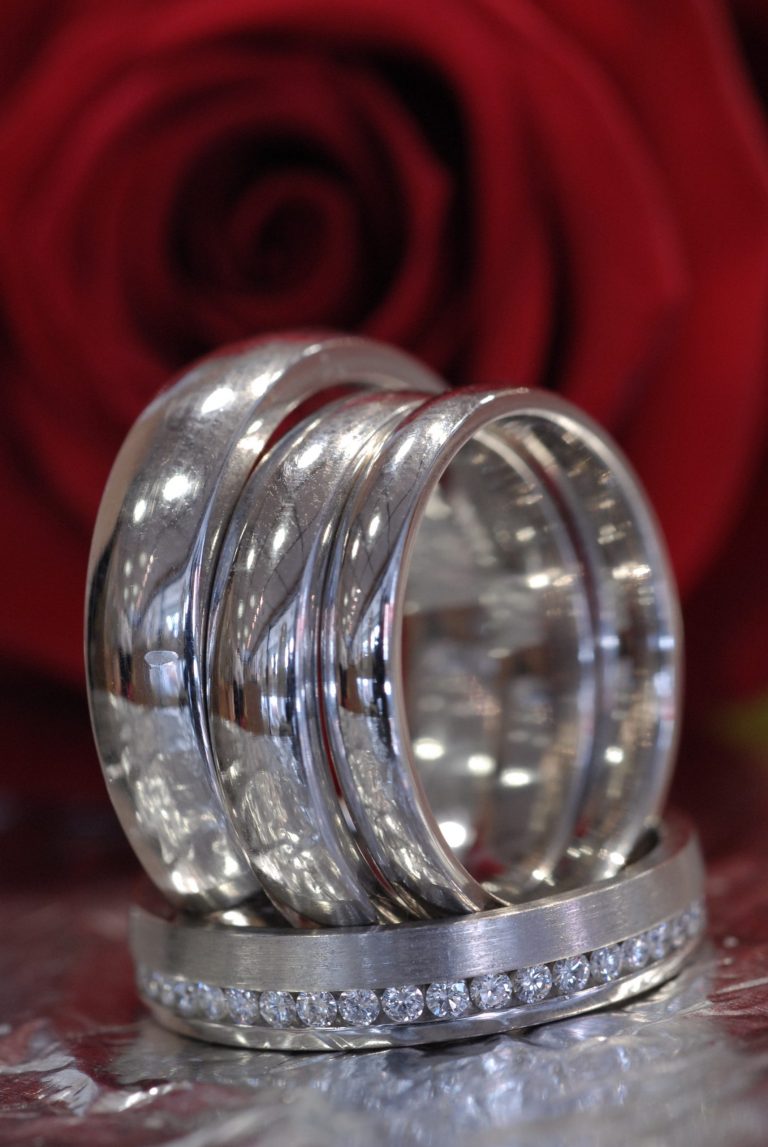
Who hasn’t succumbed to an impulse buy based on stunning photos of jewelry online? As an up-and-coming jewelry designer, you know that photographing your jewelry is the key to booming sales. Whether you want to sell on your website, via social media or at craft fairs and holiday markets, you’ll need digital-friendly and print-worthy photos that do justice to your rings, necklaces or bracelets.
But who has the budget for a professional photographer, studio or pricy equipment? And who has the time to learn the ins and outs of photographing small objects?
Fortunately, taking beautiful photos of jewelry doesn’t require models, a massive budget or years of expertise. In fact, the rules for getting the best photographs of smaller works are different from those that govern larger objects.
Follow Artweb’s expert advice for how to photograph your jewelry at home, with just a few household items and a shoestring budget.
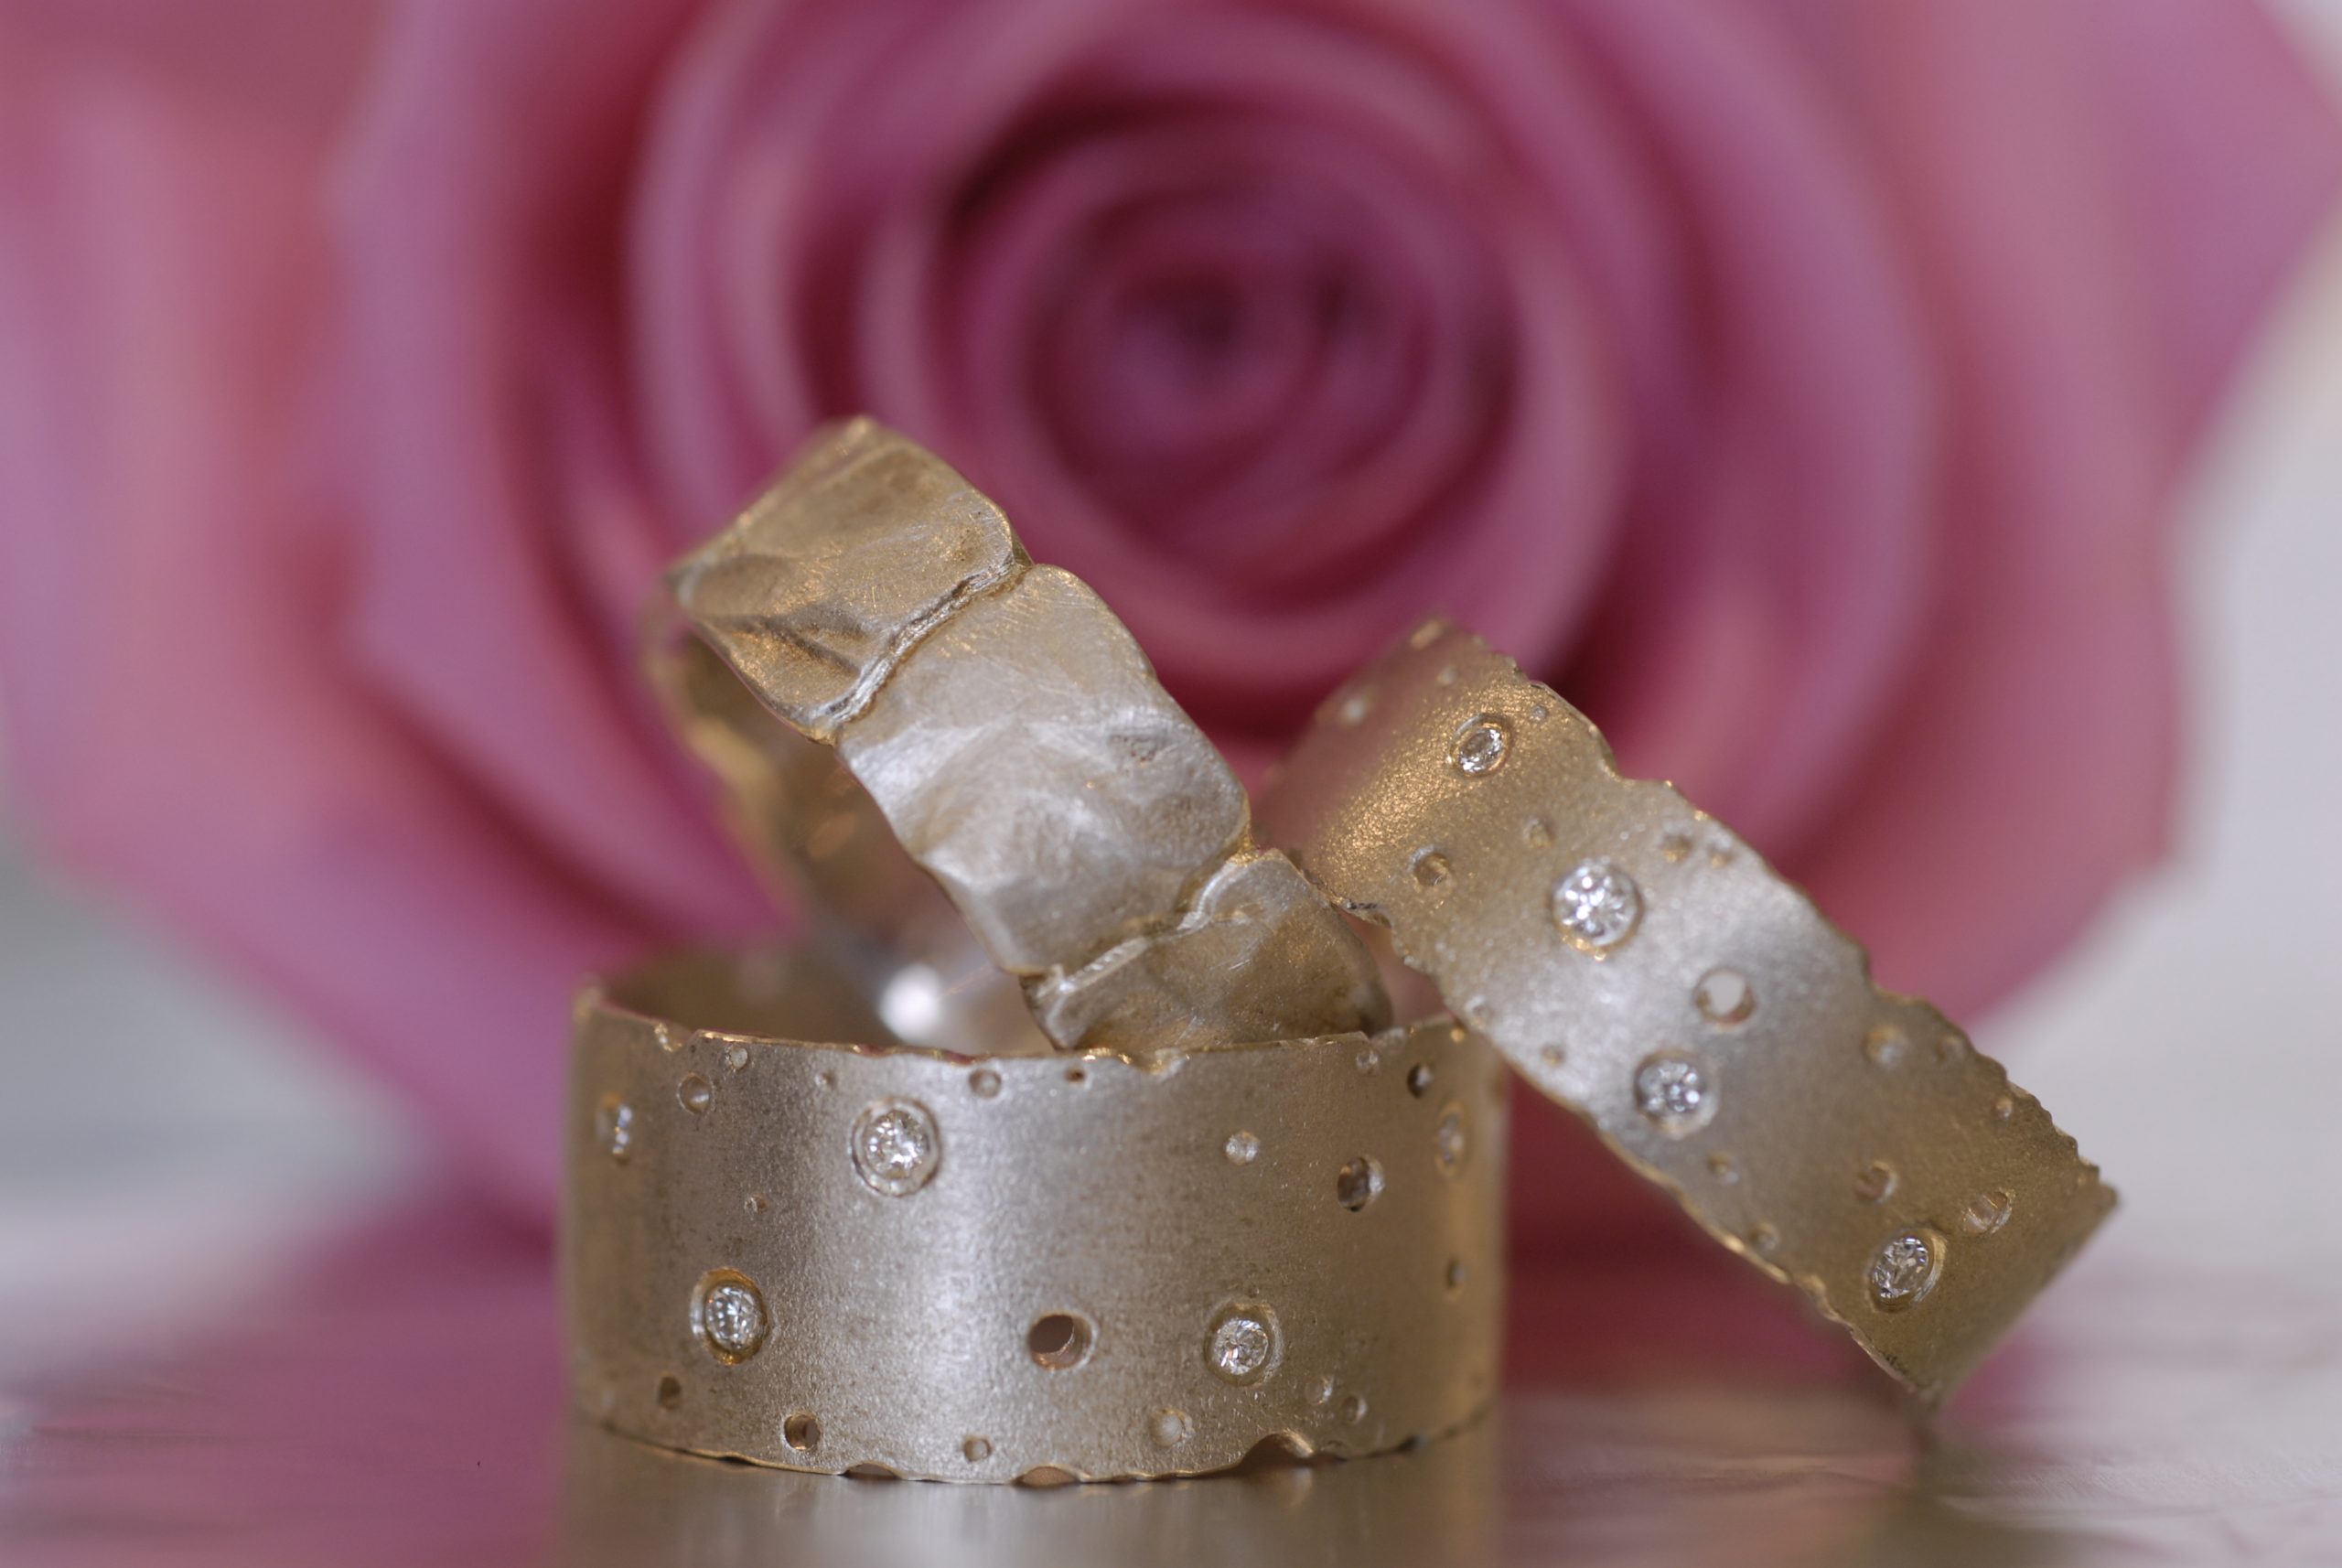
What you will need to fake a professional photo shoot
It’s possible to create professional-looking images at home in your own makeshift studio. A modest investment in equipment, combined with a few household items, some shifting of furniture and a little creativity produces your very own in-home photo shoot.
Looking for even more technical detail on how to photograph your jewelry? Check out our guide to photographing your artwork.
DSLR or Medium Format Camera
Whenever you photograph something small, it is best to work with a so-called DSLR or medium format camera. Unlike your phone’s camera, they allow you to change lenses, which is better for zooming in on detail.
A DSLR is a digital single lens reflex camera that allows you to change lenses on the same camera body. It combines the digital imaging sensor of a phone camera with the optics and mechanisms of a single-lens reflex camera (aka an analog or film camera).
Alternatively, you could use a medium format camera. Medium format cameras require film, which means you’ll need to add the expense of developing your photos. While these cameras capture beautiful detail and texture, the technical know-how required and hassle of film development may not outweigh the benefits.
Your instinct might be to use the digital camera on your phone. And of course, your camera phone will work in a pinch. But don’t assume you can make all your edits to your photos when you upload images to your computer. It is always easier to get the perfect shot from the outset.
If you don’t own a high-quality camera, borrow from a friend or get creative and swap jewelry in exchange for a day’s use of a professional camera. Entry-level DSLR cameras start at $200-300, so you may consider investing in one if you plan to photograph your jewelry regularly.
Tripod
With smaller objects, capturing detail is essential. That can be harder with an ordinary camera or phone camera versus a DSLR.
To portray every curve and shimmer of a ring, necklace or earrings, you need a slower shutter speed. If the light is lower, or you need to capture more detail, you might want to shoot slower. However, beware of so-called camera shake. When shooting at anything slower than 1/60th of a second, your hands grow unsteady and start to shake. As a result, you may produce a blurred, slightly out-of-focus image.
Fortunately, a tripod is the jewelry photographer’s friend. Working with a tripod means you set a timer, step away away from the camera and leave the shutter open for longer with no movement.
Basic tripods can cost anywhere from $30-100, while heavy-duty professional tripods can go for several hundred dollars.
Tripod and ISO
Using a tripod also means you can also increase your photographs’ sensitivity to light. The result is less pixilation and a pin-sharp picture.
To modify your camera sensor’s light sensitivity, you’ll need to adjust for a measurement called ISO (short for a French acronym that means International Organization of Standards). ISO is a measurement of your camera’s sensitivity to light. A lower ISO value means less sensitivity to light, while a higher ISO means more sensitivity.
You can shoot in any lighting you want on a tripod with a timer. A camera’s lowest ISO is 100.
To take beautiful photos of your jewelry, you’ll need to experiment with both shutter speed and ISO. Try different settings until you achieve the optimal result.
Macro lens
A macro lens on a camera is like a microscope. It enlarges small objects and captures details that might not be easily visible to the naked eye.
If you regularly need to take images of smaller items like jewelry, you might want to invest in a macro lens. It works like other lenses but is specifically designed for close-up work, or small detail. Macro lenses are available in varying lengths for different purposes. The most common lengths are 50mm, 100mm and 180mm, although they vary by manufacturer.
If you are using an ordinary 35mm lens, get as close to the item as possible to avoid zooming in. Zooming in with a standard lens may not capture the detail in your jewelry as sharply as you’d want for images on your website or a print campaign.
A macro lens could set you back several hundred dollars. So do your research and make sure the lens you buy meets your needs. If it’s any consolation “budget macro lens” yields dozens of results on Google, so with a little legwork, you can find a thrifty option.
Lighting
When choosing the spot for your makeshift studio, ensure you have good natural light with minimal natural shadow.
If you are using a tripod you can slow the shutter speed and increase/decrease ISO to capture detail at the right lighting level.
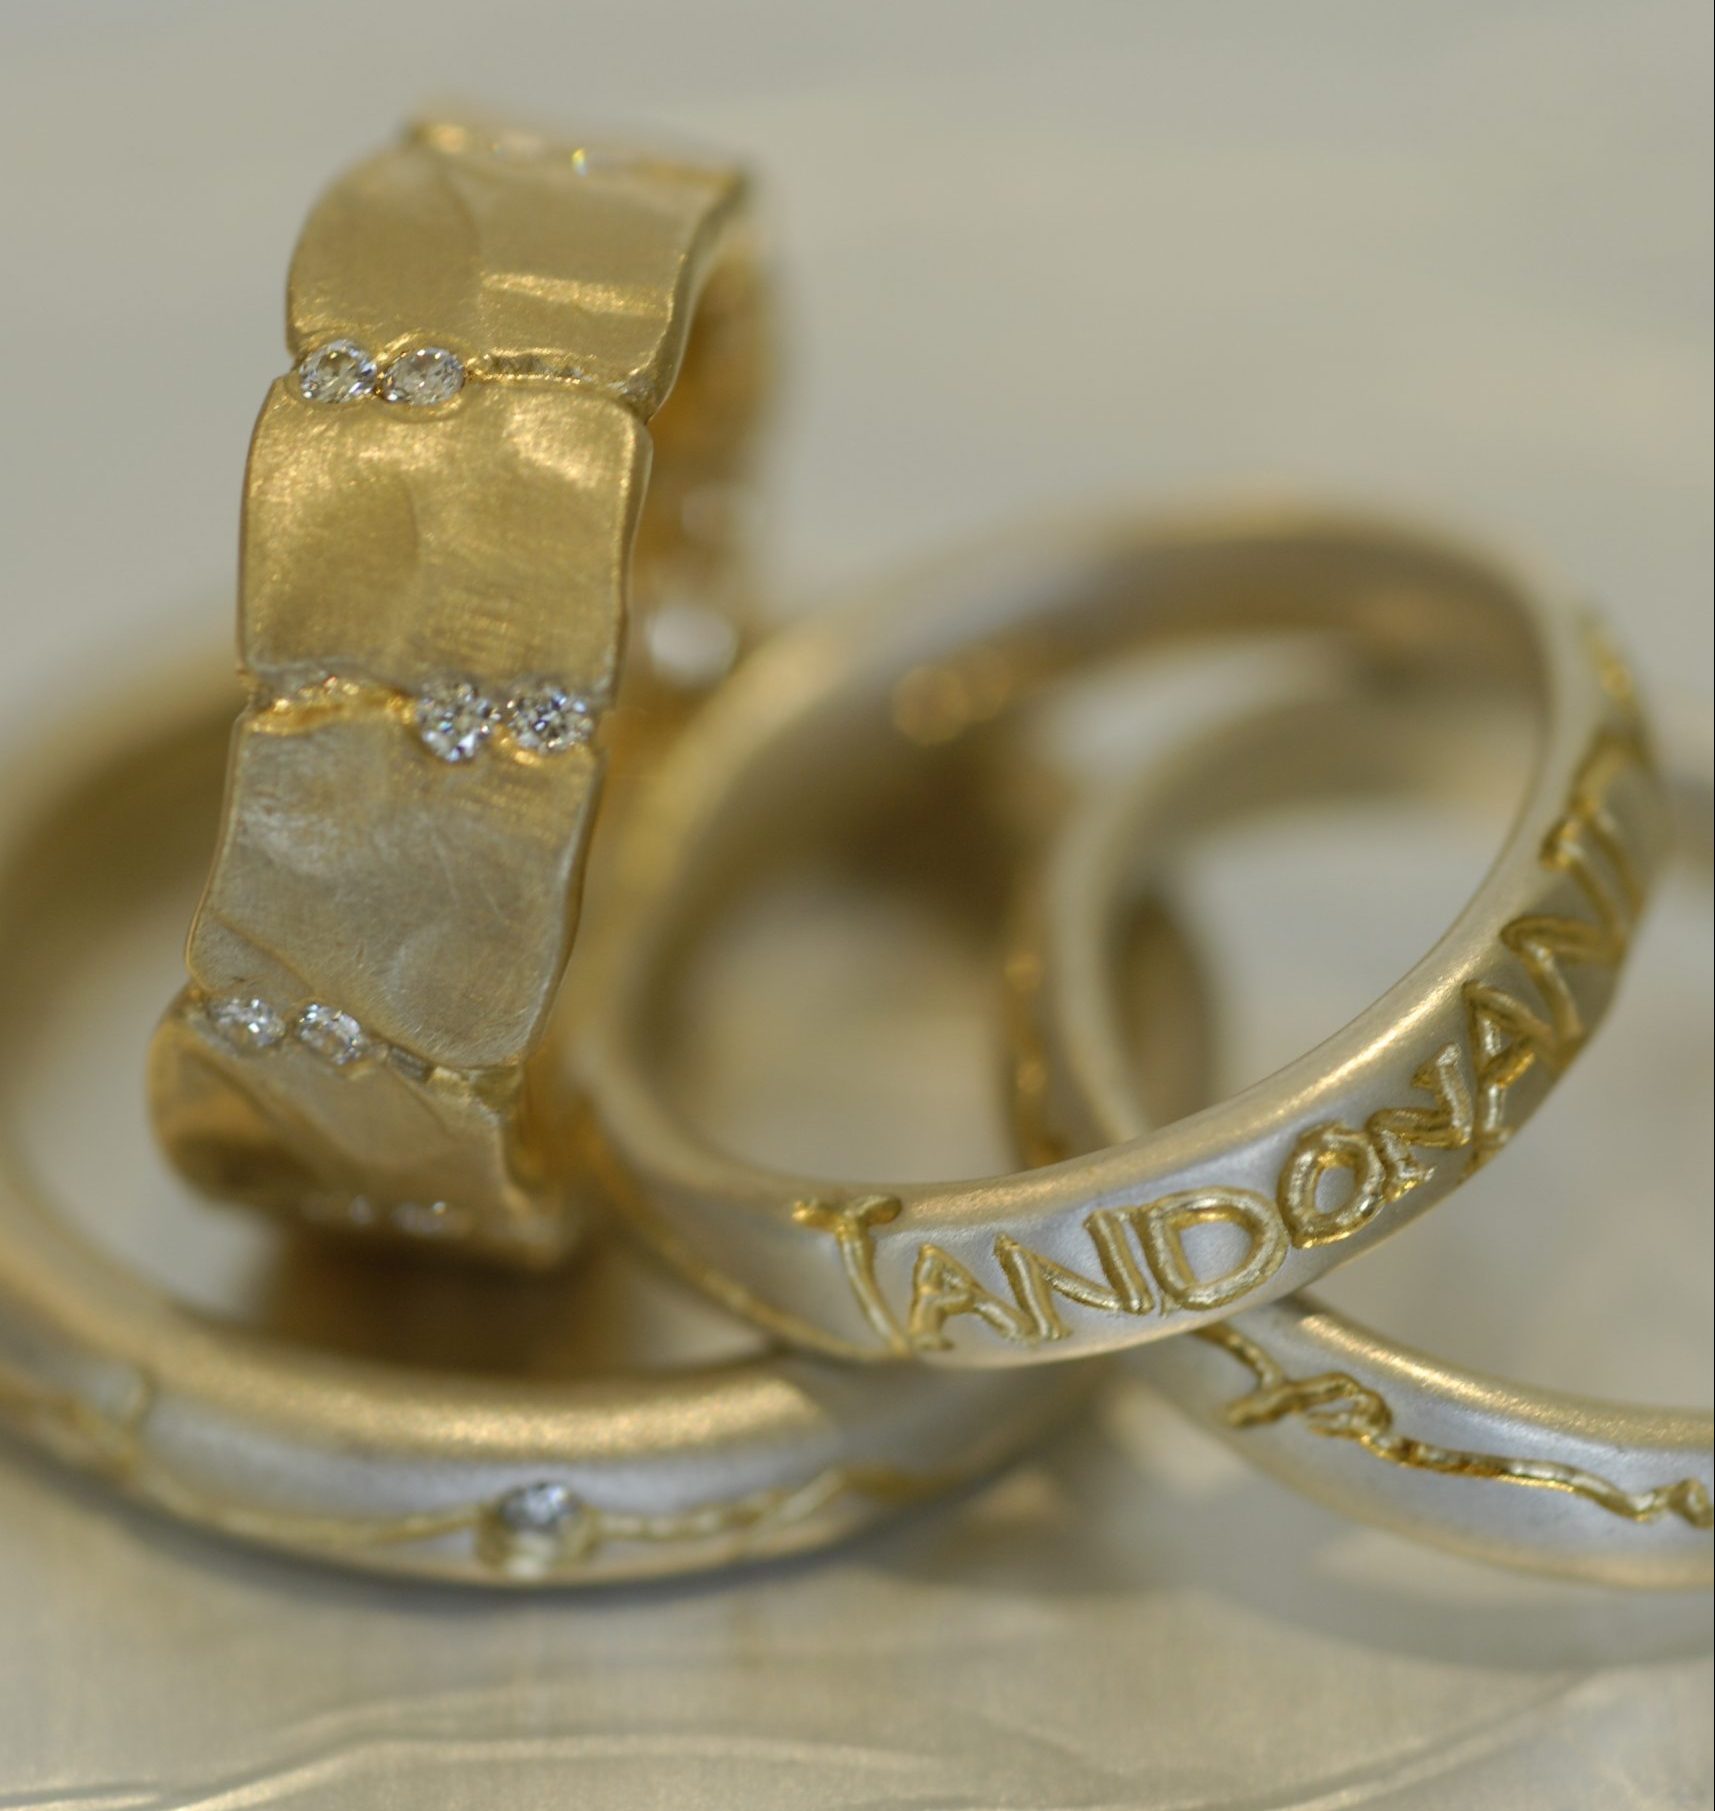
When lighting jewelry, consider the texture of the item. Do you want to reflect the facets of a diamond? Or a soft glow on precious metals? Or show the grain detail in wood? Your lighting needs will depend on both the type and medium of jewelry you want to photograph, as well as the atmosphere you hope to create.
Avoid pointing a flash directly at your jewelry. That only creates sharp shadows. Ironically, even inanimate objects can achieve that “rabbit caught in headlights” feel.
You can angle a flash at a reflector to soften the light, or simply use a table lamp or phone light defused through fabric or paper. This method will create shadow. Of course, there are professional reflectors that offer different options. But for small items you can simply point the flash at a piece of paper until the lighting on the object is correct.
Curate the setting
The beauty of working small is that you can create the effect of a professional photography studio by repurposing common household items.
Clear a small corner of your house where you can use a dining room table, collect table lamps and interesting surfaces you think would complement your object.
Create a bespoke background (on a budget)
It’s surprisingly simple to create a custom and professional background for just a few dollars. Just follow these simple steps:
#1: Choose a backdrop
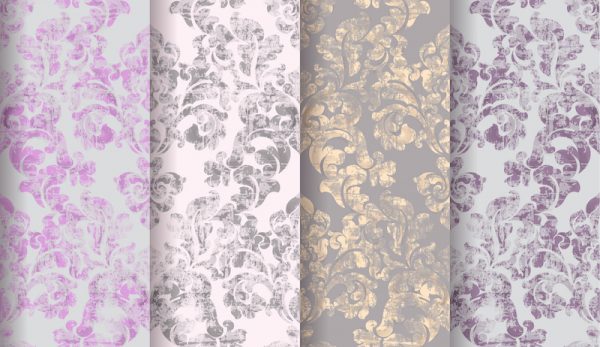
Start with a roll of paper. Wallpaper works brilliantly. You can use shelf lining paper for a plain background. Or, if it’s drama you seek, opt for a more baroque print with pattern or color.
Avoid gift wrap as it creases easily. Alternatively, you can use fabric (make sure it is crease-free). Finally, you can create the effect of marble, wood or tile using printed wallpaper. Look for designers like Lucie Annabel, who specializes in English-inspired wallcoverings. Darker colors work brilliantly against precious metals.
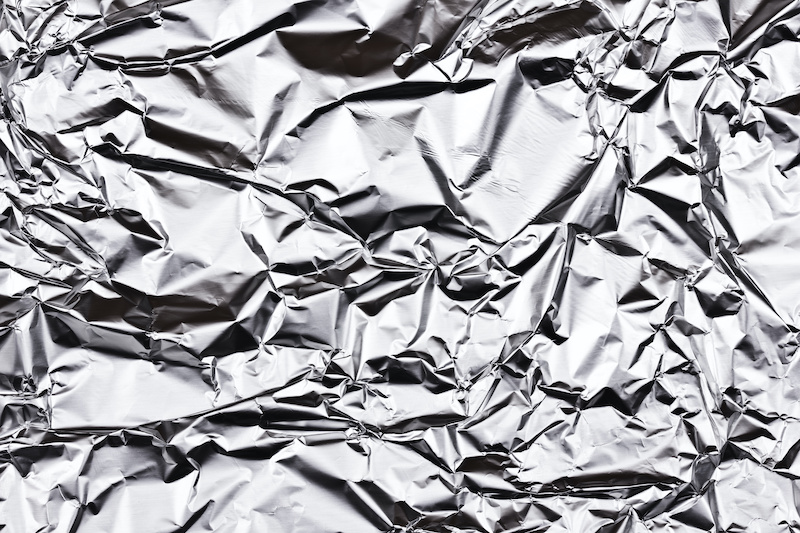
If you are photographing jewelry, another great – and extremely cheap – option is aluminum foil. Lay it flat or scrunch it up and spread it. The light will reflect in it to give a soft mirror image of the item. It sounds weird, but try it and you will quickly become a convert.
#2: Position your backdrop
To start, take the end of the roll and pin it on a wall about three feet above a table. Let the paper roll down on to the table and off the edge. This approach removes the horizontal line between wall and table and keeps the focus on your jewelry. Sit the item in the middle of the table so the view has the colored background all around it.
#3: Use a lightbox
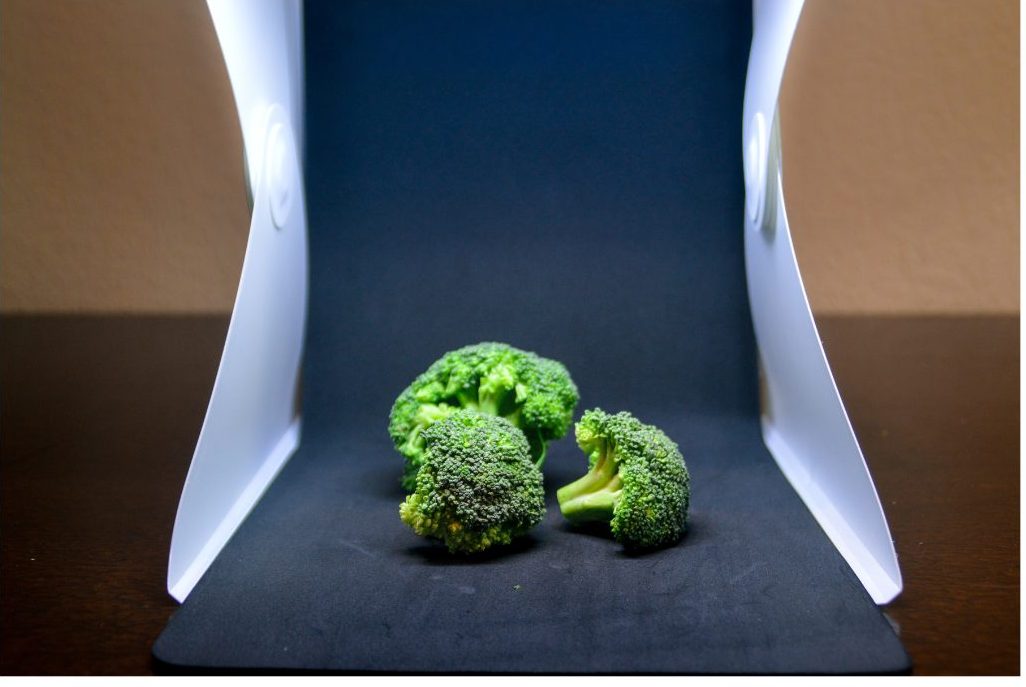
When photographing small arts and crafts, you can achieve a classic, minimalist look with a lightbox. It’s simply a small plastic box that emits a diffused light. Placing small items on top and photographing it will give a very clean image that is perfect for online shops. It’s must-have equipment if you find yourself photographing jewelry often.
Widely available, a basic A5 sized lightbox should cost around $20.
#4: Add props
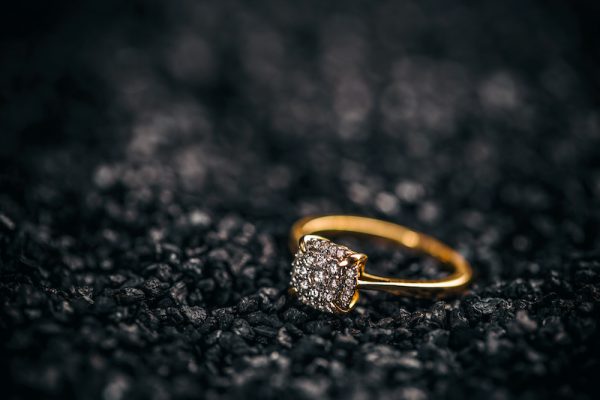
Collect some objects that you would like to include. If jewelry is your subject, you might want to include some raw materials such as stones or pebbles. For silverware or items designed for everyday use, you may want to add props related to the product’s use, such as food or a plate.
Also consider grouping items together. You could pair earrings with a matching necklace and bracelet. Or, you can arrange items that complement each other, such as a broach and scarf.
Your checklist for photographing jewelry
Creating stunning images of your jewelry doesn’t have to be hard. And it doesn’t have to cost a fortune. But to achieve the best result, make sure you create several compositions for each piece. That way, you’ll have multiple versions you can use for various marketing purposes, including your website, social media and print campaigns.
Take these six types of photos:
- Photograph the item with a plain background. That makes it easier to remove the background completely to create a “cut-out.” Surprisingly, removing the background using Photoshop or Canva produces a much cleaner image than photographing with a white background.
- Photograph against a colored or patterned backgrounds.
- Capture details of the product in close-up. Use a macro lens to get the best results.
- Photograph with props. Use raw materials, similar or contrasting items.
- Choose a model who can show off your creations. You will probably need to follow the same rules as any fashion photography (modelling agencies have hand models, for example). But working with models adds more complexity to the shots, so if the pictures aren’t very good, don’t use them.
- Provide a visual aid to clarify the dimensions or size of the object. Your buyers will grasp the size of your jewelry intuitively if you place it alongside an everyday object. Of course, you should also include written measurements in the item’s description on your website, but those won’t pack the same wallop.
Creating Eye-Catching Photos of Your Jewelry Doesn’t Have to be Hard (or Expensive)
If you follow these simple steps, you can DIY your way to professional-looking photos that will ensure your jewelry sells itself.
And, if you’re wondering where to showcase these fabulous images, consider building a free website with Artweb.

