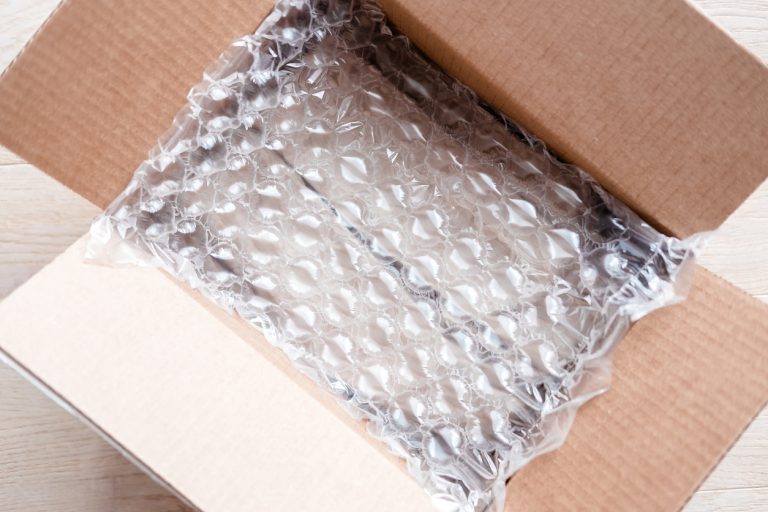
This article is all about packaging your art! Yep, it’s as practical as it gets, but so important in ensuring your original and often irreplaceable artworks get to their buyer in one piece. Whether you are sending huge sculptures or tiny postcards, the attention to detail and care you give will go a long way in representing your professional standards. So take your time to package correctly and avoid any unwanted breakages or complaints.
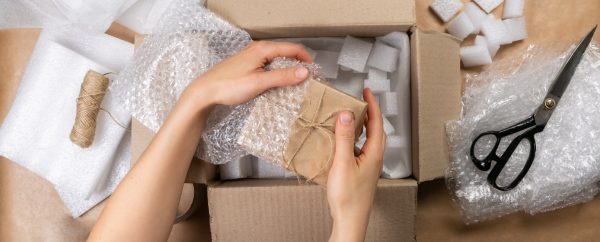
1. Get creative
Being an artist, there’s no excuse to get lazy on your creativity when it comes to packaging! Little touches will make the ordering process feel much more personal to the buyer, and it all adds to the pleasurable experience of buying art. You want them to be wowed and instantly want to return to buy something else. Here are a few simple things you can think about:
Create a style
Think about your brand as an artist, and try to channel this throughout all of your packaging material. This should also follow through with your business cards, website header, Twitter logo. etc. There should be a clear and consistent style that represents you as an artist.
If it’s a gift
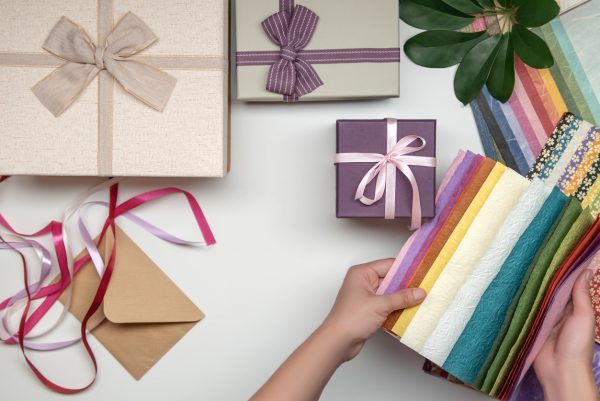
When selling things like jewellery, prints, and smaller ‘gifty’ items, packaging is all the more important. Consider things like patterned paper, custom labels, ribbon, tins, printed boxes… the list is endless
Don’t go over the top
Excessive packaging is wasteful, but some small simple touches can be very effective. A great idea is to consider whether the packaging can be reused in anyway (such as boxes), and you could even give people little ideas of how to do so.
Customize
It might be a little outlay to begin with, but once you have your custom packaging materials they can last you a long time, and the attention to detail could make all the difference for returning customers. One idea is to make custom block stamps with your artist name on, which can be used over and over again on anything from jewellery bags, to envelopes, to external box packaging. Another thing could be custom printed stickers and labels, which do the same job.
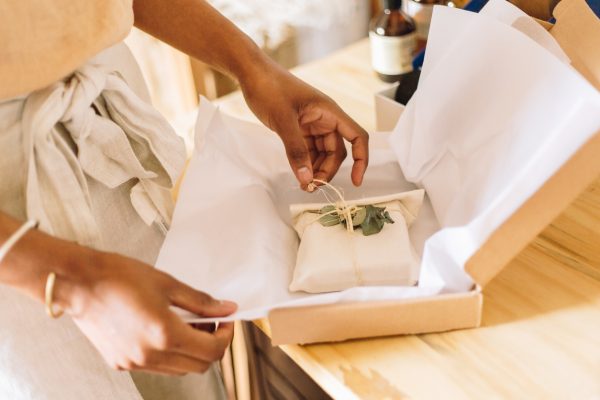
Outer packaging
Try to keep this simple, but still with a creative twist. Perhaps your address labels are custom designed, or you add a stamped pattern design, but make sure it doesn’t interfere with the important details though.
Don’t forget to include a thank you note and a few business cards!
2. The practical stuff
Packaging 2D items (e.g. prints, postcards, illustrations, etc.)
You will need:
- Acid-free tissue paper
- Corrugated plastic, cut down to size OR foam board
- Stiffened, hard-backed envelope OR cardboard postal tube
- Packaging tape
- Masking tape
(You can buy these items in bulk from places like UK Packaging)
Method:
- Lay several sheets of tissue paper on either side of the work and secure with two small pieces of masking tape, folding over if necessary.
- Sandwich this inside the two pieces of corrugated plastic or foam board, taping at either side
- Slide into the stiffened envelope, tape closed, add your address label, and you’re done!
- If your art work is larger than A3, we would recommend using a postal tube instead. Make sure each end is padded out with tissue paper, and that the print can’t slide around inside. Always tape the plastic ends on securely.
Packaging jewellery
This is a little more personal than other packaging methods. tTere are lots of options for how to send jewellery, and a lot will depend on your creative style, but we’ve listed some of the options below:
- Jewellery presentation box
- Jewellery gift bag
- Clear polythene bag
- Coloured tissue paper
- Wadding
- Customised cardboard holders for earrings
Packaging framed and unframed pieces
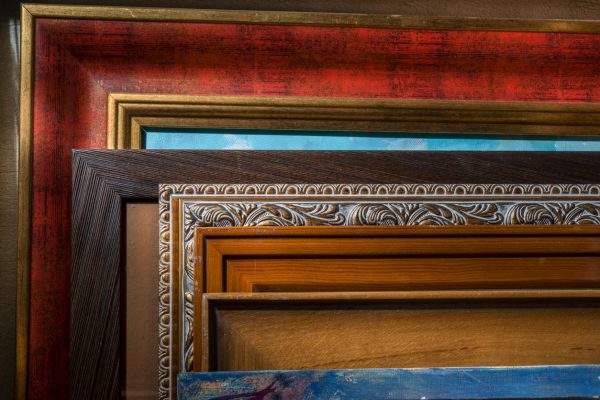
You will need:
- White cotton gloves
- Acid-free tissue paper
- Plastic corner triangles
- Bubble wrap
- Cardboard/foam board
- Corrugated cardboard or pre-made box
- Packaging tape
- ‘Fragile’ tape (optional, red permanent marker also works!)
Method:
- Always use white cotton gloves, which can be bought very cheaply. These will protect from fingerprints, and chemical reactions that can happen between the oils on your hands the and the materials in the work. Sometimes it’s a nice idea to package a set of gloves with the painting, so the person at the other end doesn’t need to worry about having some ready.
- The first layer of packaging should be acid-free tissue paper — 1 or 2 layers is fine, with additional triangles added to each corner for extra protection.
- Next, a layer of bubble wrap (with bubbles facing in!)
- On each corner, add a plastic corner protector, and tape down.
- For framed works, you may want to add an additional layer of foam. Remember, the squishier the padding, the better!
- Using the four plastic corners, tape your artwork to a sheet of cardboard or foamboard on both sides. This should sandwich your artwork neatly.
- Lastly, make an outside cover using two pieces of corrugated cardboard. Make sure it is taped all the way round, and that ‘Fragile’ is marked clearly on the outside.
- You could also use a pre-made box, but when buying it make sure you allow plenty of room for the additional packaging.
Packaging sculpture
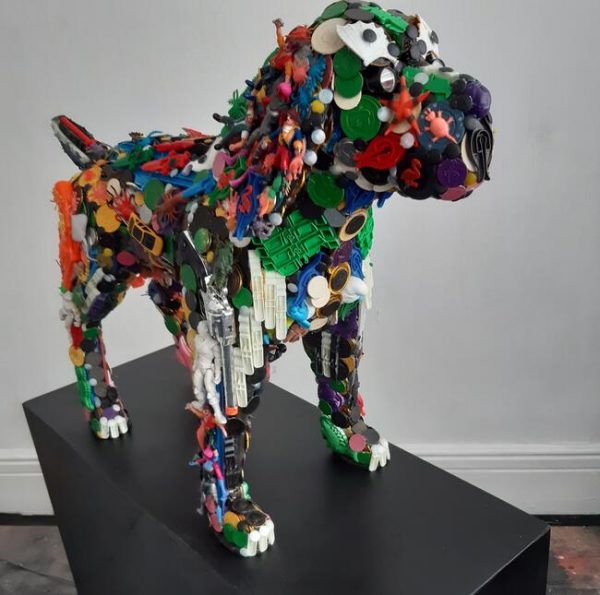
You will need:
- Bubble wrap (lots)
- Packaging tape
- Pre-made box large enough for your work
- Shredded paper
Method:
- The best way to package a sculpture is to tackle it in two sections. Start with the bottom half, and encase bubble wrap around it firmly, taping it securely. Two or three layers is advised.
- Then repeat for the top section.
- Place some shredded paper into the bottom of your already constructed box.
- Gently place your sculpture in the box and fill out the spaces with lots of shredded paper and extra bubble wrap, to ensure it doesn’t move around in transit.
Some notes on shipping
- Always ensure the shipping label is highly secure; you don’t want to risk it coming off in transit.
- Research your courier company first, and make sure they have positive reviews.
- Always include a return address on the package.
- When possible, send tracked so you can avoid dispute if your buyer doesn’t receive their item.
We hope this article has helped you with any packaging questions you may have had. We’d also love to hear your own packaging tips, so feel free to share any advice!
This article was originally published in April 2014. Last update: June 11, 2021.

