We may think we all know the basic principles of how most printmaking works — that we roll the surface of a plate with ink, place it face up on the bed of an etching press and then place damp paper on top of that plate, before winding it through the press. The pressure of this process forces the damp paper into the etched plate’s fine lines, thereby transferring the ink to the paper.
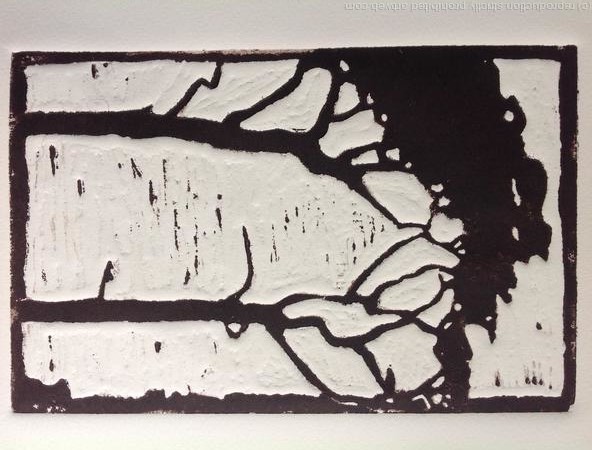
However, with paper being the most obvious substrate for printmaking ahead of such alternatives as plaster, concrete and silicone rubber, it’s worth familiarising yourself with the various key types of paper available for printmaking, and the implications each of them has for your creative projects.
It’s crucial to choose the right paper for your needs
Different types of paper, of course, lend themselves differently to the various popular forms of printmaking.
If, for example, it is etching in which you wish to partake, the finest-quality paper that you could choose would have traditionally been made from 100% cotton rag. Such paper can still be found today, although advancements in paper technology down the years have made it more customary for various sources of alpha cellulose to be used.
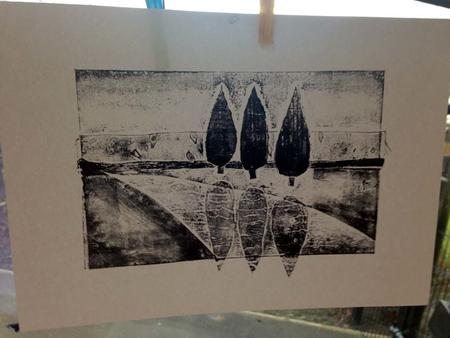
These days, printmakers tend to use a fairy heavy machine-made paper — also known as ‘mould-made’ paper — for their etching. The weight of such papers is measured in grams per square metre (gsm) per sheet, and it tends to be papers weighing between 250gsm and 300gsm that are most suitable for etchings. However, depending on your experience as an artist and the nature of your project, you could conceivably opt for lighter or heavier papers than these.
Examples of respected mould-made papers include Velin Arches, BFK Rives, Somerset, Zerkall Etching and Hahnemuhle German Etch, although there are hand-made papers available too, with these printing very well but also being much more expensive than their mould-made counterparts.
You can identify hand-made papers on account of all four of their edges being rough and ‘deckled’, whereas mould-made papers usually have two opposing deckle edges, with the other two edges being cut or torn.
Then, there is cartridge paper, which is not merely cheap, but also quick and easy to prepare for printing. This makes it a frequent favourite of artists for proofing, although it isn’t generally used for editions, given how greatly the ‘feel’ differs from hand-made or mould-made paper.
What are the key elements of getting your paper ready to print?
When you are printing an etching or other intaglio plate, the most important thing to remember is to first dampen the paper so that it is sufficiently receptive to the ink.
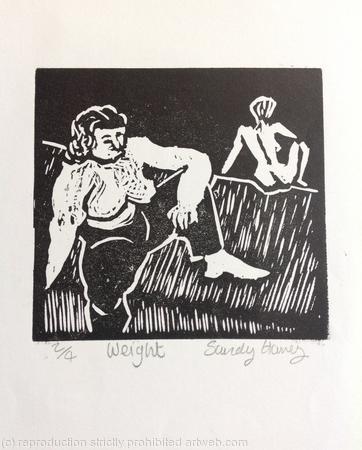
If you are wondering “why can’t I just print onto dry paper?”, the reasons for that are simple. First of all, dry paper won’t pick up all of the ink, so you’ll end up with a poor-quality or little discernible image on the paper. Secondly, dry paper’s lack of pliability means that when it is stretched due to being put through the press, it will fold into unsightly creases. That’s hardly an effect you will want if you intend to display your finished prints.
One other crucial aspect of preparing paper for printing is handling it correctly, given that damp paper’s greater receptiveness to ink means it will also pick up any other kind of dirt very easily. The last thing you will be happy with, after all, is a finished print that looks immaculate… other than that annoying smudge from an errant finger that renders it unsuitable to be exhibited professionally.
This peril is why you are advised to make some ‘paper fingers’ with which to handle the paper in its damp state. This can be done by taking some old, but clean postcards, cutting each one in half and then folding each half across its centre. You can then use your ‘paper fingers’ between the forefinger and thumb of each hand to prevent your delicate damp paper being prematurely ruined.
The above is naturally only a summary of some of the most vital steps you need to take in selecting the right printmaking paper for your needs and preparing it appropriately for printing. We may well expand on these themes in future blog posts — but in the meantime, if you have your own thoughts on this topic, why not share them in the comments section below?
Read here for tips on setting up your own printmaking studio.

