Hello and welcome to the second instalment of our Pinterest for Artists blog series!
In Part 1 we looked at setting up your account and getting it right from the start. Now we’re going to focus on how to implement a strategy, and how to make Pinterest an integral part of your marketing plan. Like anything, with Pinterest you’ll need to be prepared to put in the work to reap success, but the potential it has to expand your audience reach is definitely worth the effort.
Step 1: Who is your audience?
Defining your Pinterest audience is the first thing you need to do – think hard about who you are trying to reach and why. Here are a few questions you need to ask yourself about your target customer:
- Are they male or female?
- What age range are they?
- What are their specific interests?
- What industry do they work in?
- What is their income?
- Do they have children?
- How do they use social media?
- Why are they using Pinterest? (important!)
These might seem like very general questions, but it’s important to think of these things so you can start to form a picture of your ideal customer, and start to identify ways to reach them. For example, from these questions you may establish a customer profile of women aged 30-50, who have children and are setting up their own business. From there you can begin to think about what they might be interested in, problems they might be facing, or things they are looking for on Pinterest and other social media platforms. Clearly defining your audience first means you can strategically construct your boards and pins with your target customer in mind.
We talked a little bit in part 1 about what kind of person Pinterest attracts and what some of the uses are. Remember, you’re not just trying to bombard them with images of your work, but by carefully identifying their interests, lifestyle, and other factors, you can start to build specific boards that target those areas and start to generate interest.
One mistake a lot of people make on Pinterest is by making it extremely personal, and only posting things relevant to their own interests. This is fine if you are only using Pinterest for your own reference, but if you are using it as a marketing tool for your business, you need to remember that it’s not about you – it’s all about your audience and what their interests are.
Step 2: Your boards
Here’s the fun part! If you’ve read part 1, you’ll know that we talked about how to set up your first boards. Once you’ve gotten started, here are a few more points to think about…
- Themed boards for seasons: This is an effective way to keep your account current and get people’s attention. For example, spring-time is a positive time when people might be thinking about a refresh of their interior design, so may well be searching for a new piece of art for their walls. So, you could make a spring-themed board, with one or two of your floral paintings pinned for inspiration! The same idea could work for Christmas gift ideas, Mother’s Day etc.
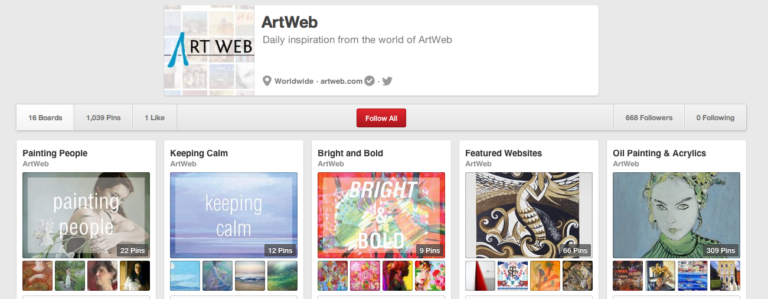
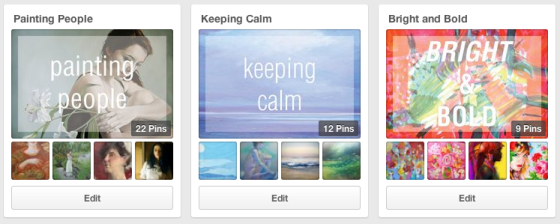
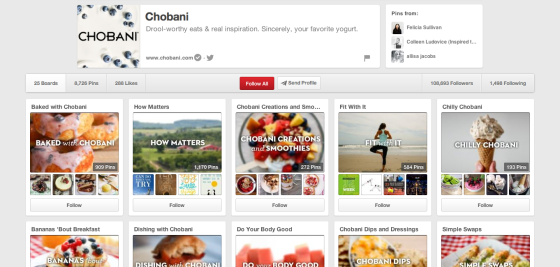
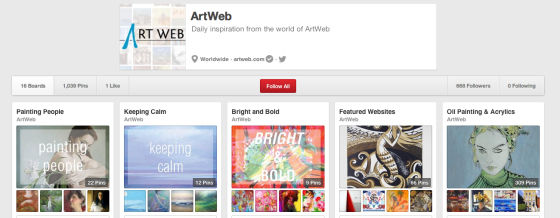
- Cover board images: To give your profile a professional twist, you could make custom board covers. This is something implemented by Country Living and Chobani, and really gives a coherent and attractive look to their pages. Here at ArtWeb, we’ve recently introduced some customs boards too! If you’ve got a bit of skill with Photoshop, why not try it out.
- First 5 boards: The top 5 boards on your Pinterest profile are the ones people will see first – so they need to be your best ones. Make sure you prioritise the most eye-catching and those with the most pins.
- Group boards: These are a great way to engage with your followers on Pinterest. By inviting other users to contribute to a group board on a theme of your choice, you are inviting a closer discussion and collaboration between you and your audience. Group boards can also be really useful when working for a client – you can invite them to contribute to a collaborative board to share your ideas for a specific project. Here are a couple of examples of Pinterest users utilising the group board function… Random House and Tasty Catering.
Step 3: Strategies
The best way to see Pinterest is as unlimited free traffic to your website, and as a way to communicate with your audience. However, it will only really work when used in conjunction with other platforms and methods. Here are a few tips on how to make optimum use of your new network, and how to use all of Pinterest’s useful features:
- Your newsletter: Include featured artworks in your email, with an encouragement to Pin them on their own boards. This can result in huge engagement, and expand your engagement with your fans and their followers.
- Track your results: Which pins are driving most engagement? Make sure you have signed up for Google Analytics with your website so you can see exactly what links are driving the most traffic, so you know what to focus on and what to move away from in future.
- Rich Pins: For example, ‘Place Pins’ allow you to include a location to your image, as well as a map. This could be great if you’re holding an exhibition and want to let people know who are local! ‘Product pins’ are also important, as they allow you to include real-time pricing, which updates automatically if you change the price of an artwork on your site. Rich Pins can be a little tricky to install, so you may need some assistance from a developer on this one, but it can definitely be worth it. More info on Rich Pins can be found here.
One last thing… Connect! Like with any social media platform, it’s important to connect with others. Make part of your strategy reaching out, by liking, re-pinning, following and joining in conversations.
We hope these tips have helped you think about ways you can make Pinterest work for you. Please let us know if you’ve put any tips into practice by commenting below, we’d love to hear, and be sure to connect with ArtWeb on Pinterest too…
We’ll be back soon with more practical tips and advice!

