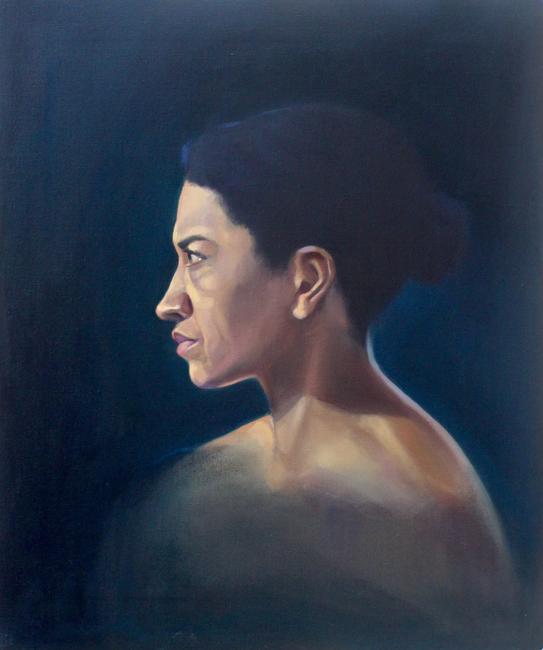
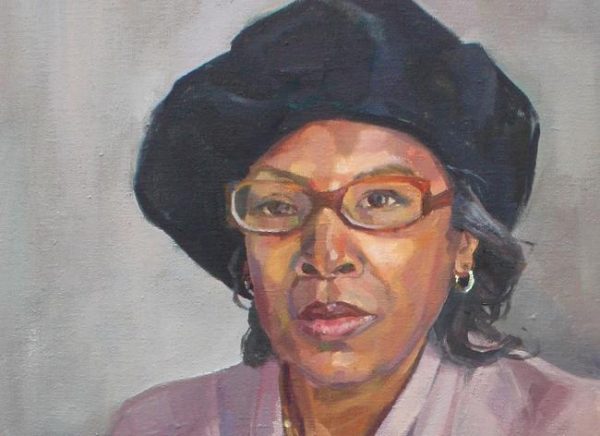
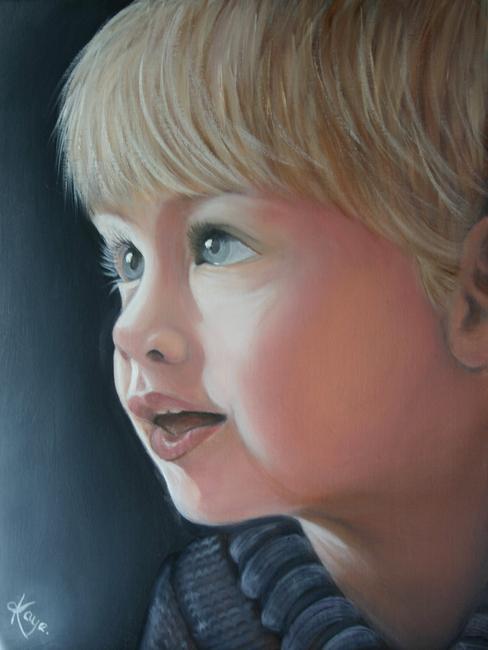
When painting portraits, it can be tricky to consistently achieve the right skin, eye, lip and hair colour tones. The fact that colour names often differ from one manufacturer to the next, and that some oil colours are not available in acrylic at all — thereby needing to be mixed — increases the complexity involved in devising a definitive guide to achieving the right colours for painted portraits.
Nonetheless, there are certain tips that you can follow to boost your chances of success.
Study (basic) colour theory
There are certain basic principles of which to be aware when mixing colours for portraits. For example, yellow ochre is the most frequently used colour in basic skin tone palettes, while another colour that mixes well for achieving realistic skin tones is Naples yellow hue, which is a light, warm yellow.
Both of those colours mix well with reds, providing the basis for a wide range of recipes that can be darkened, lightened, greyed or intermixed.
However, you cannot “grey” a colour using black or white — you can only tint, tone or shade it. Add white to a colour, for example, and you will get a tint of that colour, whereas if you wish for a tone of a particular colour, you add grey to it. Adding black to a colour, meanwhile, results in a shade of that colour.
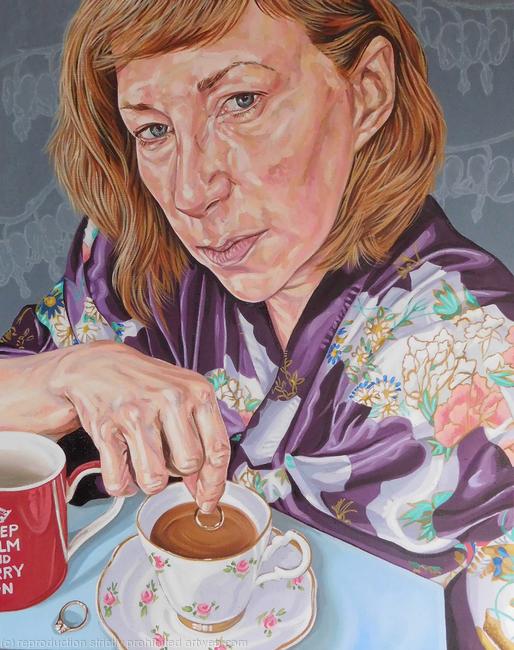
How do you lighten, darken or grey your portraits?
If you are struggling to achieve a certain desired tone through informal experimentation, a good rule of thumb is to start with any mix and then simply lighten, darken or grey until you achieve the desired result.
To lighten, for example, you may try adding white to such colours as cadmium yellow light, Naples yellow hue, zinc yellow or cadmium orange. If it’s a darker skin tone that you are looking for, you could add the likes of burnt sienna, burnt umber, ultramarine blue or alizarin crimson, or a mixture of these colours, shading a tone with a touch of black.
If, meanwhile, you would like to grey a given skin tone, you may choose to add one or more of the following colours: chrome oxide green, cerulean blue hue, cadmium orange, cadmium yellow light or white plus ultramarine blue. A complementary colour should also be added — for instance, green may be added to a red tone, or purple to a yellow one.
What colour tones should be used for various parts of the face?
It would be impossible to outline all of the essential advice for achieving the right colour tones across various areas of the face and body in a short blog post like this one. This is why I would suggest that you purchase a reputable book dedicated to the subject, such as Color Mixing Recipes for Portraits, which outlines a comprehensive range of paint combos for different skin tones.
Nonetheless, there are certain other ground rules that can be detailed here for specific areas of the face. The skin on the mouth, for example, is thinner than that elsewhere on the face, with the blood closer to the surface, so you can expect this area to be redder than others.

You should also bear in mind the many delicate colour changes that can occur in the creases and curves of the ears and nose. The tops of the ears are often red due to the flow of blood, while nose tips can also be red.
When depicting the eyes, meanwhile, you should be aware that the white of the eye is not pure white, accounting for this by mixing a bit of skin tone and a tiny bit of ultramarine blue into the white. This mix should be warm and light. Also don’t forget to highlight a small area on each of the iris’s sides with a spot of pure white.
Have fun with your portrait painting!
Remember that if you achieve certain colour mixes that you especially like, you can store large amounts of them in empty containers for future use. For oil and acrylic, it’s a good idea to buy empty paint tubes and label your own colours, whereas for watercolour, you may invest in cheap empty pans or tiny plastic containers with lids.
Keep these rules for successful colour mixing for painted portraits firmly in mind, and you are likely to have a much more rewarding experience of this often underestimated area of art practice.
This article was originally published in October 2016. Last updated: October 2021.

